Digital Floor Plans for Wedding Events: A Planner's Guide
Digital Floor Plans for Wedding Events: A Planner’s Guide
A digital floor plan is the single operational blueprint and sales asset for every wedding event you manage. It tells your caterer where service lanes run, shows your AV crew where power drops live, and lets a prospective client visualize their reception before they sign a contract. Planners who centralize their layouts in a platform like Thespecialwedding.io report significantly reducing seating-chart work time and streamlining vendor coordination, and they reduce the back-and-forth with vendors that typically eats up the week before an event.
Three benefits define the role of digital floor plans in wedding events:
- Operational clarity: Every vendor reads the same live document, with dimensions, furniture, and service zones already annotated.
- Vendor coordination: Real-time collaboration eliminates version-control problems and makes the plan a true single source of truth.
- Sales and lead qualification: A high-quality 2D or 3D layout lets prospective clients visualize the event, reducing repeated in-person venue tours and shortening the sales cycle.
Your immediate next step: pull your existing venue measurements into one centralized workspace, build a scaled template, and share it with your client and vendors through a single link.
Table of Contents
- What is the role of digital floor plans in wedding events?
- How do you create a digital wedding floor plan step by step?
- What should every wedding floor plan include?
- How do seating styles and spacing rules affect capacity?
- How do you share, approve, and coordinate vendors with a digital plan?
- What floor plan templates save the most planning time?
- What mistakes do planners make with digital floor plans?
- How does Thespecialwedding.io turn floor plan practices into platform features?
- Key Takeaways
- The case for pragmatic precision over digital perfection
- Thespecialwedding.io puts your floor plans where your workflow already lives
- Useful sources and further reading
What is the role of digital floor plans in wedding events?
Digital floor plans do more than map furniture. They integrate venue measurements, furniture footprints, and vendor zones to optimize traffic flow, sightlines, and service areas across every phase of the event. A plan that only shows table placement is incomplete; one that also marks bar locations, accessible seating, AV positions, and load-in paths gives every vendor a clear picture of their responsibilities before they arrive on-site.

The shift worth noting: floor plans have moved from a purely operational artifact to a marketing asset. A well-rendered layout shared during a sales consultation qualifies leads by letting clients see their event in the space, which reduces the number of in-person tours you need to schedule and increases client confidence before the contract is signed.
How do you create a digital wedding floor plan step by step?
Step 1: Collect and validate venue data
Start with whatever the venue provides: a CAD file, a PDF blueprint, or hand-drawn dimensions. Then do your own on-site validation. Measure the room yourself, note column positions, locate every power outlet and service door, and photograph fixed features like stages and built-in bars. Digital precision can miss physical constraints that only appear in person, so schedule this walkthrough after you draft the initial plan and before final signoff.

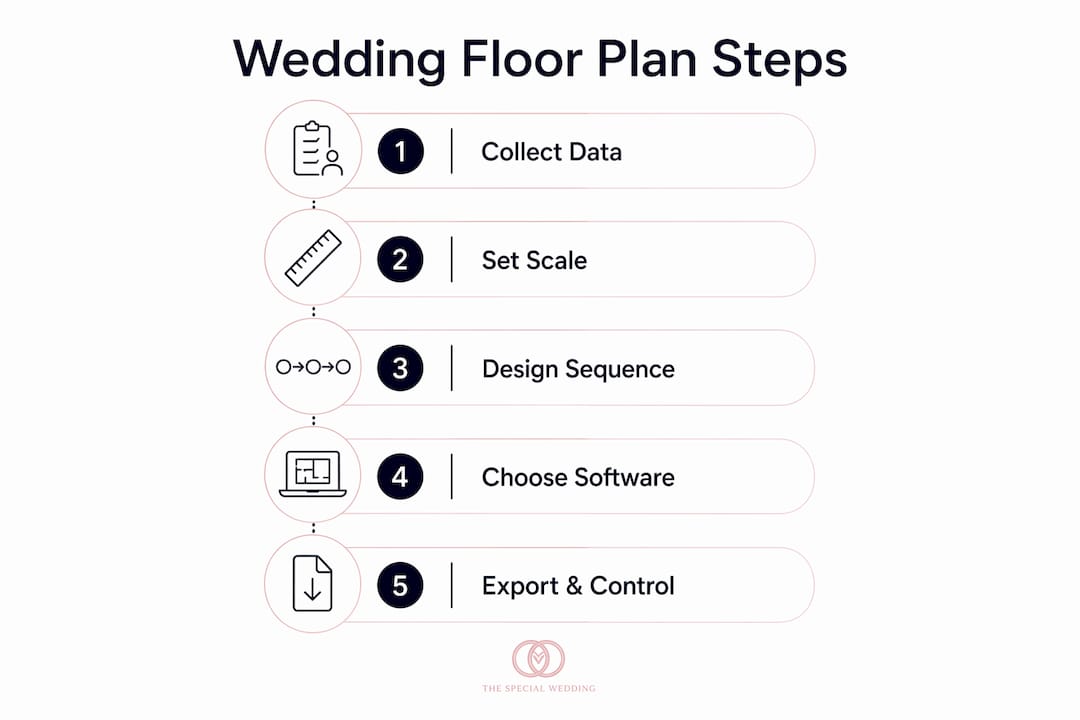
Step 2: Set scale and calibrate your tool
Import the venue file into your floor plan software and set the scale using a known dimension, typically a wall length you measured on-site. Once calibrated, every object you place reflects real-world size. Use the table below as your starting reference for common furniture dimensions.
| Table Type | Diameter / Size | Comfortable Seat Count |
|---|---|---|
| Round (standard) | 60 inches | 8 guests |
| Round (large) | 72 inches | 10 guests |
| Round (small) | 48 inches | 6 guests |
| Banquet / long | 8 ft × 30 in | 8–10 guests (both sides) |
| Cocktail high-top | 30 inches | 4–6 guests (standing) |
Source: SeatPlan.io — allow approximately 24 inches per person around the table edge.
Step 3: Design in sequence
Map each phase of the event in order: ceremony setup, cocktail hour zone, reception layout, then service and operational overlays. Place the ceremony focal point first (altar, arch, or stage), then work outward to guest seating, then add the reception tables, dance floor, and head table. After the guest-facing elements are placed, layer in the operational details: bar positions, buffet lines, AV screens, speaker clusters, lighting positions, catering service aisles, and load-in paths. Mark accessibility placements last, confirming that wheelchair clearances and accessible seating locations are visible to every vendor.
Step 4: Choose software with the right professional features
For professional use, your tool needs: CAD/DXF import, a drag-and-drop furniture library, metadata fields for power loads and accessibility notes, multi-user collaboration with permission levels, and export options that produce PDFs for client approvals and BEO packages for vendors. Browser-based editors with CAD import and versioning support real-time collaboration and one-click vendor sharing, which removes the email-attachment loop that creates version confusion.
Pro Tip: Attach guest accessibility metadata directly to individual seat or table elements in your plan, not just as a general note. When your caterer and venue coordinator open the same file, they see exactly which tables need aisle clearance or dietary flags without asking you.
Step 5: Export and version control
Use a consistent naming convention for every file: VenueName_EventDate_v1, _v2, _FINAL. Embed the signoff stamp (who approved, date, contact) into every exported PDF. Distribute vendor packages as PDFs with annotations visible; share CAD files only when a vendor’s production team explicitly requests them. Store all versions in one workspace folder so no one is working from a file they pulled out of an old email.
What should every wedding floor plan include?
A complete floor plan functions as a vendor instruction set. If a vendor has to call you to ask where something goes, the plan is missing information.
Core structural elements:
- Room dimensions with scale bar
- Fixed features: columns, load-bearing walls, built-in stages, permanent bars
- All doors, emergency exits, and egress paths clearly marked
- Emergency vehicle access and fire lane clearances
Event-specific items:
- Tables and chairs with table numbers labeled
- Dance floor with dimensions
- Ceremony setup: aisle, altar/arch, officiant position, guest seating rows
- Head table, sweetheart table, cake table
- Bars and buffet stations with service-side clearance shown
- AV screens, projectors, and speaker positions
- Lighting rigs and truss positions
- Photo booth or specialty activation footprints
Operational metadata:
- Power outlet locations and load requirements per zone
- Vendor placement notes (which vendor owns which zone)
- Catering service aisle widths (minimum 60 inches; increase to 72 inches for wheelchair access or heavy waiter/cart service)
- Load-in windows and door assignments per vendor
- Accessible seating locations and wheelchair clearance zones
Annotation conventions:
Mark service lanes with a distinct color or hatch pattern, label no-go zones explicitly (e.g., “No guest access — catering only”), and use directional arrows to indicate sightlines from guest seating toward the head table, stage, or screens. A plan that shows where things go and why they go there eliminates the most common day-of questions.
How do seating styles and spacing rules affect capacity?
Layout styles and when to use them
60-inch rounds are the standard for seated dinners. They seat guests comfortably, encourage conversation across the table, and work in most ballroom configurations. Use 72-inch rounds when you need to seat 10 and the room can absorb the extra footprint.
Long/banquet tables work well for family-style service and create a communal feel. They seat a moderate number of guests per 8-foot table when guests sit on both sides, and they pack more efficiently into rectangular rooms than rounds do.
Cabaret/semi-circle arrangements place guests on one side of a round table, all facing the stage or dance floor. Guest count per table drops to 5–6, so you need more tables for the same headcount. Use this style when sightlines to a performance area matter more than conversation.
Theater-style rows work for ceremony-only spaces or presentations. No tables, chairs only, which maximizes capacity but eliminates any surface for drinks or programs.
Cocktail with high-tops suits the cocktail hour or a standing-reception format. High-tops seat a small group comfortably in a standing lean; they do not replace seated dinner tables for a full meal service.
Spacing rules and capacity reference
| Clearance Type | Minimum | Recommended (service/accessibility) |
|---|---|---|
| Between table edges | 60 inches | 72 inches |
| Table to wall | — | 60 inches |
| Service aisle (main) | 60 inches | 72 inches |
| Wheelchair turning radius | 60 inches | 72 inches (non-negotiable) |
Spacing values sourced from SeatPlan.io guidance.
Capacity calculation example
Say your ballroom is 60 feet × 80 feet (4,800 square feet). Subtract the dance floor sized for typical events, the head table zone of common size, the bar area of a usual footprint, and a typical perimeter clearance percentage of total area. That leaves approximately 3,540 square feet for guest tables. A 60-inch round table requires a footprint including appropriate spacing on all sides. That gives you about 35 tables, with seating for multiple guests. In practice, planners target a percentage of the theoretical maximum to allow for irregular room shapes, columns, and service flexibility, resulting in a slightly lower effective number of tables and guests.
For detailed capacity planning frameworks, the math above is a starting point; always verify against the venue’s posted fire-code occupancy limit.
How do you share, approve, and coordinate vendors with a digital plan?
Version control and naming
Every draft gets a version number. Every final gets the word FINAL plus the date. No exceptions. A file called GrandBallroom_Oct18_FINAL is unambiguous; a file called floor plan updated is a liability. Store all versions in one shared folder and archive superseded drafts rather than deleting them.
Signoff timeline
Work backward from the event date and assign each stakeholder a deadline:
- Planner internal review: 8 weeks out — confirm dimensions, furniture counts, and service zones.
- Venue sign-off: 6 weeks out — venue manager confirms fixed features, power locations, and load-in access.
- Caterer sign-off: 5 weeks out — confirm service aisle widths, buffet positions, and kitchen access.
- AV/lighting sign-off: 5 weeks out — confirm power loads, truss positions, and cable runs.
- Client sign-off: 4 weeks out — client approves table layout, seating zones, and décor placements.
- Final locked version distributed: 2 weeks out — all vendors receive the PDF vendor pack.
Vendor distribution checklist
- All vendors: annotated PDF of the final floor plan, load-in schedule, and emergency egress map
- Caterer: service aisle diagram, buffet/bar placement detail, kitchen access path
- AV/lighting: power map with outlet locations and load requirements (link lighting vendor profiles to confirm equipment footprints)
- Venue coordinator: signed final plan with version stamp and all vendor contact details
- Band or DJ: stage footprint, power requirements, and sightline diagram
Collaboration best practices
Set permission levels before you share: clients get view-only access, vendors get comment access, and your internal team gets edit access. When a change is made, update the version number immediately and notify all stakeholders through a single channel, not individual emails. Integrated workflows that connect the floor plan to BEOs and guest lists reduce day-of friction because every team reads the same live document.
What floor plan templates save the most planning time?
Reusable templates are the fastest route to scale. Digital templates let you produce multiple layout variations and reduce replication effort for similar venues, cutting setup time dramatically compared to starting from scratch each time.
Three templates worth building and storing:
- Ceremony + reception combo: Full room layout with ceremony rows, aisle, and altar in one half; reception tables, dance floor, and head table in the other. Ideal for venues where the room flips between ceremony and reception. Include a “flip sequence” annotation showing which furniture moves and when.
- Cocktail-heavy reception: Minimal seated tables (60–70% of guests at high-tops or lounge seating), large open floor area, multiple bar stations, and a small performance or DJ zone. Works for 2–4 hour receptions without a formal seated dinner.
- Formal seated dinner: Full round-table layout with head table, dance floor centered or offset, and complete service-aisle overlay. This is your workhorse template for traditional receptions.
To adapt any template to a new venue, use the overlay method: import the new venue’s floor plan as a background layer, then scale your template furniture to match the new room dimensions. Adjust service zones and egress paths first, then shift tables to fit. Most adaptations take 20–30 minutes once the template is calibrated.
Inside Thespecialwedding.io, tag each template by venue type (ballroom, barn, outdoor tent, restaurant) and guest-count range so you can filter and pull the right starting point for each new client. Pair your workspace organization with a naming convention that matches your versioning system, and your templates become a library rather than a folder of files you have to hunt through.
What mistakes do planners make with digital floor plans?
Common errors
- Over-relying on CAD precision without on-site validation. A venue’s PDF blueprint may be years old. Columns, service doors, and outlet positions often differ from what the file shows. Always validate on-site after drafting and before final signoff.
- Missing power and outlet details. AV and lighting crews need to know exactly where power is and what load each circuit supports. A plan without a power map forces vendors to improvise on load-in day.
- Failing to tag accessibility needs. If wheelchair clearances and accessible seating locations are not on the plan, they will not be on the floor on event day.
- Poor version control. Sending an updated plan without changing the file name means someone will set up from the wrong version.
Red flags during plan reviews
- Service lanes that are blocked by table placement or décor items
- Egress paths that are narrowed by furniture or staging
- Furniture dimensions that do not match the vendor’s actual equipment footprint
- Vendor equipment footprints that are unconfirmed (listed as “TBD” or estimated)
Final pre-event checklist
- Confirm the signed final plan is the version all vendors have.
- Verify vendor packs were received and acknowledged by each vendor.
- Walk the power map with the AV team and confirm circuit assignments.
- Schedule a physical walkthrough of the space with the venue coordinator.
- Confirm accessible seating placements are marked and clear.
- Check that all egress paths are unobstructed on the plan and in the room.
- Confirm load-in windows and door assignments with each vendor.
If a major layout change is required day-of: contact the venue coordinator and your lead vendor immediately, update the plan in your platform, push the revised PDF to all affected vendors through a single shared link, and document the change with a timestamp. Never make verbal-only changes to a layout on event day.
For a complete day-of coordination framework, the runsheet best practices guide covers how to sequence these checks against your event timeline.
How does Thespecialwedding.io turn floor plan practices into platform features?
Thespecialwedding.io operationalizes the workflow above by connecting the floor plan to the rest of your event data in one workspace. Rather than managing a floor plan file separately from your guest list, vendor contacts, and BEO, the platform keeps them linked so a change in one area surfaces in the others.
Feature mapping to planner needs:
- Seating and guest management: Drag-and-drop seating arrangements tied directly to your guest list, so table assignments and accessibility flags stay synchronized.
- Vendor onboarding and CRM: Vendor profiles store equipment footprints, power requirements, and contact details, which you can reference directly when annotating the floor plan.
- Customizable templates: Build your ceremony + reception, cocktail-heavy, and formal dinner templates once, tag them by venue type, and reuse them across clients without rebuilding from scratch.
- Multi-user collaboration: Assign permission levels to clients, vendors, and team members so everyone reads the current version through a single shared link.
- Exports for BEOs and vendor packs: Generate annotated PDFs with version stamps for distribution, keeping your signoff trail intact.
Implementation steps for your team:
- Sign up and import one existing venue plan to calibrate your first template.
- Build your three core templates (ceremony/reception, cocktail, seated dinner) and tag them.
- Run a 30-minute internal training session so every team member uses the same naming and versioning conventions.
- Onboard your two or three most frequent vendors by sharing a view link and walking them through where to find their zone annotations and power details.
Pro Tip: Use Thespecialwedding.io’s metadata fields to attach power load requirements and accessibility notes directly to table and zone elements. When you export the vendor PDF, those notes travel with the plan, so your AV team and caterer each see their responsibilities without a separate briefing document.
Planners who consolidate floor plans, guest management, and vendor coordination into a single digital planning workspace report meaningful reductions in pre-event email volume and day-of errors, because every stakeholder is working from the same live source.
Key Takeaways
Digital floor plans function as both an operational blueprint and a client sales tool, and planners who centralize them in an integrated workspace cut vendor coordination time and reduce day-of errors.
| Point | Details |
|---|---|
| Single source of truth | Attach operational metadata (power, accessibility, service zones) to plan elements so every vendor reads the same live document. |
| Spacing standards matter | Keep at least 60 inches between table edges; increase to 72 inches for wheelchair access or active waiter service. |
| Templates accelerate scale | Build three core templates (ceremony/reception, cocktail, seated dinner) and tag them by venue type for fast reuse across clients. |
| Signoff timeline is non-negotiable | Lock the final plan a few weeks before the event; collect venue, caterer, AV, and client sign-offs well in advance to ensure readiness. |
| Thespecialwedding.io centralizes the workflow | The platform links seating, vendor CRM, and exports in one workspace, replacing scattered files and email chains. |
The case for pragmatic precision over digital perfection
The most common mistake planners make when adopting digital floor plans is treating the software output as final. A perfectly scaled 2D plan is a starting point, not a guarantee. Physical spaces have quirks that no blueprint captures: a column that sits two inches off the drawing, a service door that swings wider than the spec sheet says, an outlet that is behind a built-in fixture and effectively unusable. The plan is right until the room tells you otherwise.
That said, the answer is not to distrust digital tools. It is to build on-site validation into your standard process, not treat it as optional. Draft the plan digitally, walk the room with a printed or tablet version, mark every discrepancy, update the file, and then send it for signoff. That sequence takes more time than skipping the walkthrough, but it is the difference between a plan that works and one that creates a cascade of day-of calls.
On the question of 2D versus 3D: invest in 3D renderings for client-facing sales presentations at high-budget events where visualization closes the contract. For operational coordination with vendors, a clean, well-annotated 2D plan is faster to produce, easier to read on a phone screen in a loading dock, and sufficient for every practical purpose. Spending hours on a 3D model that your caterer will never open is a misallocation of your time.
Team training is the other underrated factor. Vendors who have never used a shared digital plan will default to calling you. The fix is not a long training session; it is two or three events where you walk them through the shared link, show them where their zone is, and confirm they can find the power map. After that, most vendors adapt quickly because the plan makes their job easier too.
Thespecialwedding.io puts your floor plans where your workflow already lives
Keeping floor plans in a separate folder, a different app, or an email thread is the single biggest source of version confusion and vendor miscommunication. Thespecialwedding.io solves that by placing your floor plan, guest list, vendor contacts, and BEO exports inside one workspace, so the plan is always current and always connected to the rest of your event data.
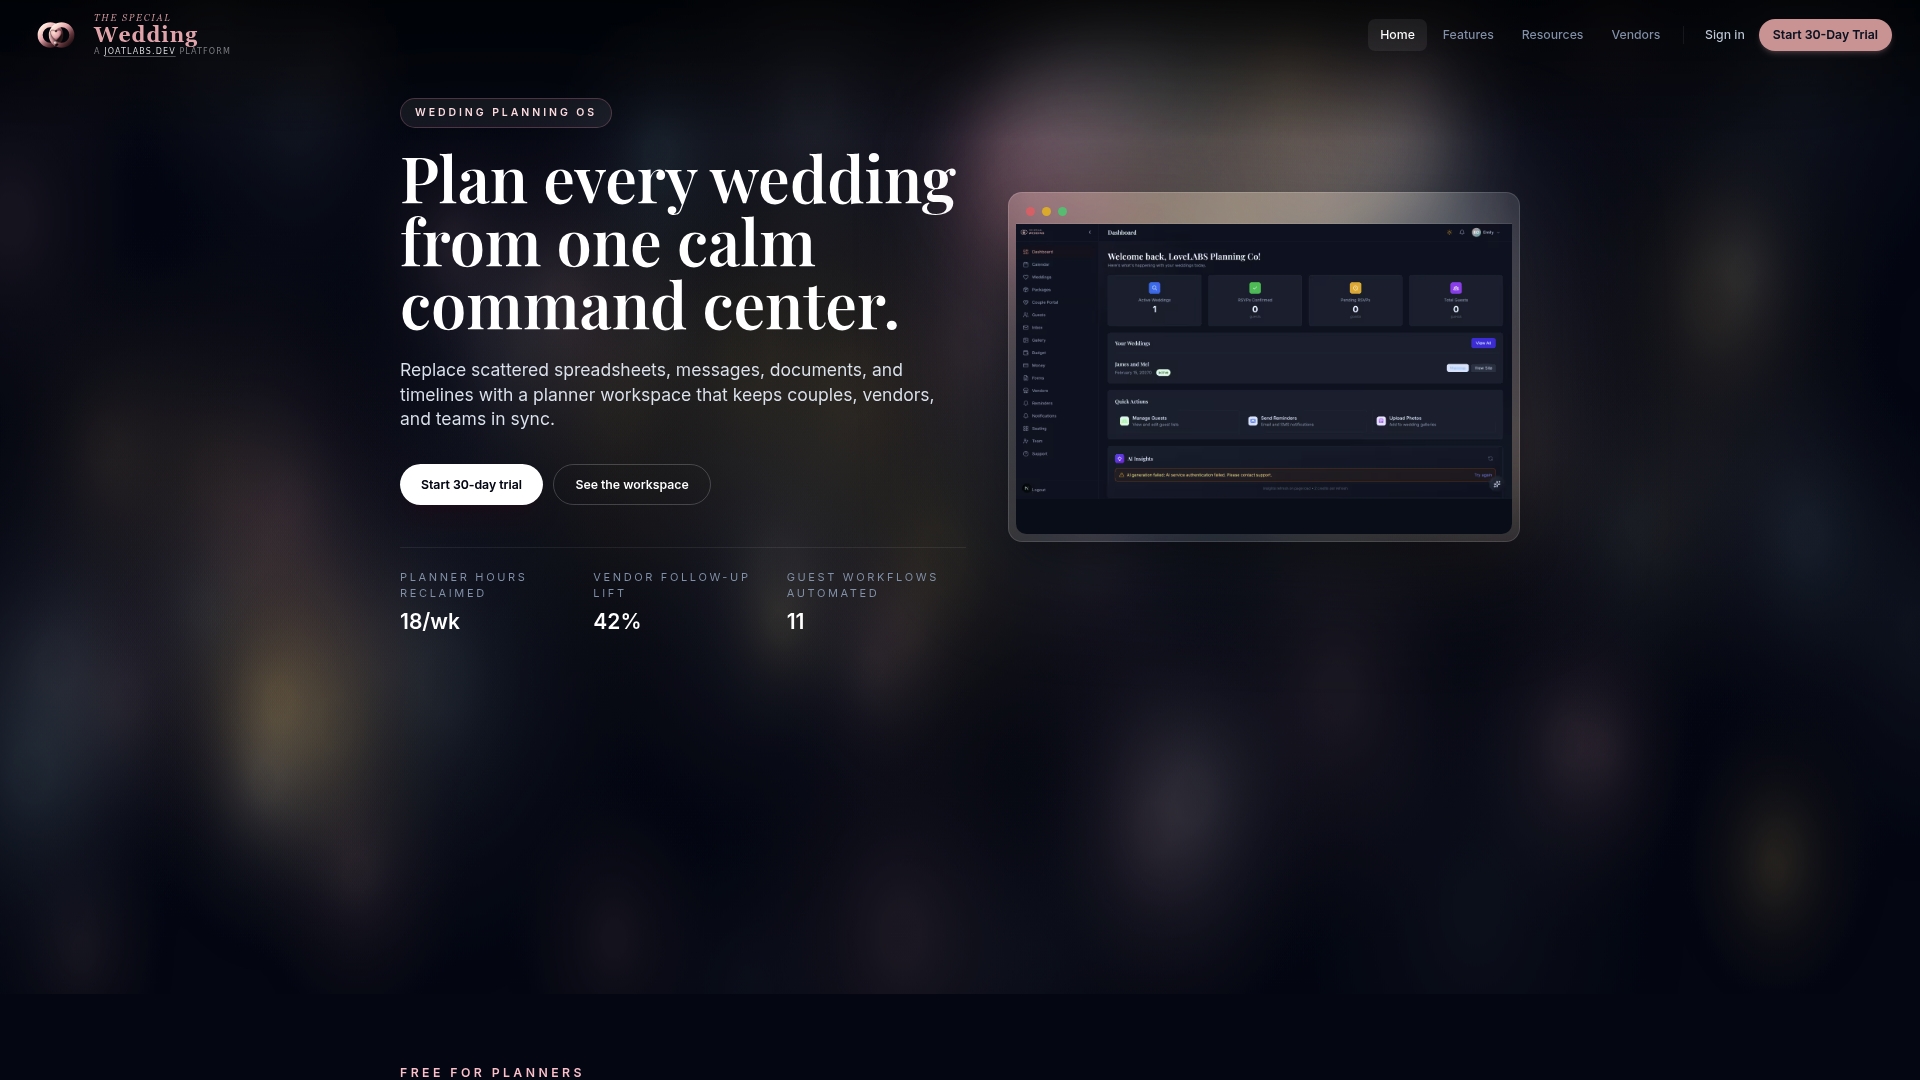
Getting started takes one afternoon. Sign up, import a venue plan from an existing event, and build your first reusable template. Invite your client and two or three key vendors to review through a single shared link. From that point forward, every update they see is live, every signoff is timestamped, and every vendor pack exports with the annotations already attached. For lighting and production vendors in particular, having power maps and equipment footprints embedded in the shared plan eliminates the pre-event briefing call that typically takes 30–45 minutes per vendor.
The result: faster client approvals, fewer vendor questions the week before the event, and a pre-event checklist you can run in under an hour. Start your free trial at Thespecialwedding.io and import your first venue plan today.
Useful sources and further reading
The sources below back the guidance in this article and are worth bookmarking for ongoing reference:
- How to Create a Stunning Wedding Floor Plan & Seating Chart — Planning Pod: Covers template workflows, auto-layout features, and reusable design patterns. Use this for template-building and scale calibration guidance.
- Beyond the Blueprint: How Your Wedding Floorplan Is Secretly Your Most Powerful Sales Tool — Tripleseat: The strongest available source on floor plans as sales assets and on metadata-driven vendor coordination. Reference this when making the case to clients or agency leadership for investing in digital layouts.
- How to Plan Wedding Venue Floor Plan in 2026 — Sortra: Practical on-site validation guidance and integration advice for connecting floor plans to BEOs and vendor workflows.
- SeatPlan.io Wedding Seating Chart: The source for table-size and spacing standards used in this article. Bookmark it for quick reference when calculating capacity for a new venue.
- Floors.live Professional Event Floorplan Designer: A browser-based tool with CAD import, versioning, and vendor-sharing features. Useful if you need a standalone floor plan editor before migrating to a fully integrated platform.
- Thespecialwedding.io — Digital Planning Workspace: Explains how an integrated workspace connects floor plans to guest management, vendor CRM, and exports. Start here if you are evaluating whether to consolidate your tools.
- Wedding Agency Capacity Planning Guide — Thespecialwedding.io: Covers capacity math, staffing ratios, and operational planning frameworks that complement the floor plan workflow above.
Recommended
Free wedding planner templates
Skip the blank page — these templates ship with the form fields you actually need.
Browse all 9 free templates →