Wedding Planning Templates for Professional Studios
Wedding Planning Templates for Professional Studios
For a multi-wedding studio, a template for event planning is a SaaS-native, reusable planning module connected to automated workflows that trigger actions across the entire event lifecycle. When a couple books through Thespecialwedding, a single confirmed booking can instantly generate a full project, assign team roles, and queue the intake form, contract, and first vendor outreach in a single sequence. The payoff is measurable: less manual setup per event, consistent client experience across every package, and the operational headroom to take on more weddings without adding headcount.
Key Takeaways
A template-driven wedding studio replaces manual project setup with reusable SaaS modules and automated workflows that trigger across the full event lifecycle, from intake to day-of run sheet.
| Point | Details |
|---|---|
| Build a prioritized template library | Start with eight must-have templates covering intake, vendor onboarding, timeline, run sheet, seating, RSVP, budget, and contracts. |
| Design templates as modular, data-driven assets | Use merge fields, conditional blocks, and package-level versioning to keep every template reusable across events. |
| Automate the five highest-impact workflows | Booking-to-project, milestone invoicing, vendor checks, timeline generation, and day-of distribution eliminate the most manual handoffs. |
| Track six core KPIs from day one | Monitor time saved per event, template reuse rate, tasks automated, invoice days outstanding, conversion rate, and portal adoption. |
| Thespecialwedding | Provides the integrated template library, automated workflows, client portals, and dashboards professional studios need to scale. |
Table of Contents
- What templates should every professional wedding studio keep on file?
- How do you design templates that actually hold up across dozens of weddings?
- What automation workflows connect your templates across the event lifecycle?
- Which integrations does a template-driven wedding stack actually need?
- How do you roll out templates across your team and client portals?
- What KPIs tell you whether your templates are actually working?
- How do you QA a template before it goes live?
- How one studio eliminated manual setup at scale
- What design rules keep your wedding brand consistent across every template?
- Which automation triggers matter most in wedding planning?
- Rollout checklist for deploying templates across multiple wedding events
- The case for treating templates as your studio’s most valuable operational asset
- Thespecialwedding gives you the template library and the automation layer in one place
- Sources
What templates should every professional wedding studio keep on file?
Your template library is the foundation of a scalable wedding business. Standardizing inquiry-to-booking flows, onboarding, and internal communication are the core drivers of growth, which means your library needs to be intentional, not just accumulated.
Must-have templates:
- Client intake form — captures
couple_name,event_date,guest_count,venue_name, and budget range; these merge fields feed every downstream template automatically - Vendor onboarding packet — pulls
vendor_category,contact_name, andcontract_deadlineinto a pre-filled agreement and portal invite - Event timeline — driven by
event_dateandguest_count; conditional blocks add ceremony-only or reception sections based on package type - Day-of run sheet — role-specific task lists built from venue setup and walk-through tasks that populate from the timeline template
- Seating chart — references
guest_countand table configuration variables; links to the RSVP tracker - Guest list and RSVP tracker — syncs
rsvp_statusand dietary flags into the seating chart and catering brief - Budget and payment schedule — milestone-based;
payment_1_dateandpayment_2_dateauto-calculate fromevent_date - Contract and e-signature flow — standard clauses with conditional payment-schedule blocks; see contract essentials for recommended language
Nice-to-have templates: vendor scorecards, inventory and kit management sheets, rehearsal checklists, post-wedding follow-up sequences, and gallery delivery confirmations.
Pro Tip: Model inventory inside templates as line-item collections with “kit” references and per-event quantity fields. The same template then powers both your budgeting view and your day-of pickup list without duplicating data.
How do you design templates that actually hold up across dozens of weddings?
The single most important design principle: every template is modular and data-driven, never hard-coded. Hard-coded text breaks the moment a package changes; merge fields and conditional blocks keep templates reusable indefinitely.
Five template design rules:
- Use merge fields for every variable value. Fields like
{{guest_count}},{{venue_name}}, and{{planner_lead}}should appear in every template that references those values. When the intake form is submitted, those fields propagate automatically. - Build conditional sections for package tiers. A “Full Service — Platinum” block and a “Day-Of Coordination” block can live in the same timeline template, with conditional logic showing only the relevant section based on
package_type. - Create sub-templates for repeating blocks. A “day-of vendor block” (arrival time, contact, load-in notes) is a sub-template you drop into any run sheet rather than rebuilding it each time.
- Name templates with a clear convention. Use the pattern
[Package]_[Template Type]_v[Version]— for example,Platinum_Timeline_v2orDayOf_RunSheet_v1. This prevents confusion when you have multiple active versions. - Version at the package level, override at the event level. Standardizing templates by package and then layering event-specific overrides stops the proliferation of one-off files that nobody can find six months later.
Pro Tip: Lock the master template and require a named override file for any event-specific change. If you edit the master directly, you lose the clean baseline for future events.
What automation workflows connect your templates across the event lifecycle?
Workflow automation connects your planning tools so templates trigger actions automatically rather than waiting for a team member to remember the next step. Five workflows deliver the highest return:
- Booking to project creation. Trigger: signed contract received. Actions: create event project, assign planner lead, generate timeline template, send client welcome email. Output: a fully structured project in under two minutes.
- Milestone invoicing. Trigger:
days_until_eventreaches a threshold (e.g., 90 days). Actions: generate invoice from the payment schedule template, send to client, log in the budget tracker. Output: on-time payment requests without manual calendar watching. - Vendor availability check. Trigger: vendor added to event. Actions: send availability confirmation request, set a 48-hour follow-up reminder if no response, flag overdue responses on the dashboard.
- Timeline generation. Trigger:
guest_countandvenue_nameconfirmed. Actions: populate the event timeline template with calculated ceremony and reception blocks, share with the production lead for review. - Day-of checklist distribution. Trigger: 72 hours before
event_date. Actions: generate role-specific run sheets, send to each team member and relevant vendors via SMS or email.
One studio deployment showed roughly 70% of initial client communications and vendor follow-ups handled automatically, freeing the lead planner for higher-value client work.
Pro Tip: Run every new workflow in a dry-run environment using a test event before activating it for live bookings. Log every failure and trace it back to the triggering condition before you move on.

Which integrations does a template-driven wedding stack actually need?
Priority order matters here. Connect client intake and payments first, then calendar sync, then e-signature, then your project management layer, then vendor CRM, then communications. Practical implementation guidance recommends getting instant inquiry response and centralized structured data in place before automating proposals and vendor coordination.
What each integration layer must support:
- Payments: webhook on payment confirmation to trigger the next workflow stage; supports milestone schedules
- Calendar sync: two-way sync so
event_datechanges in one tool propagate everywhere - E-signature: API callback on document completion to trigger contract-signed workflow
- Vendor CRM: structured vendor records with
availability_statusandcontract_deadlinefields - Communications (SMS/email): template-driven messages with merge fields; logs sent messages against the event record
When migrating existing templates into a new SaaS, map every field name before import and normalize inconsistent labels (e.g., “Guest #” and “Number of Guests” are the same field). Review platform categories and feature priorities before committing to a migration path. Set permission scopes so vendors see only their own data, and confirm your platform maintains an audit log and a data retention policy that meets your contract obligations.
For a broader view of event management software options, evaluating feature depth across platform tiers helps you identify gaps before you migrate.
How do you roll out templates across your team and client portals?
A three-phase rollout keeps the transition controlled: pilot one package with one planner, then expand to the full team package by package, then open client portals once internal workflows are stable.
Rollout steps:
- Pilot phase (weeks 1–2): one planner, one package, two live events. Validate all merge fields, test each automated workflow, and document every manual workaround needed.
- Phased team launch (weeks 3–5): onboard each role with a half-day training session covering their specific templates and permissions. Cover intake form submission for planners, contract approval for contract managers, and portal navigation for clients.
- Full rollout (week 6+): activate client portals with branded communications. Confirm each client sees only their event data.
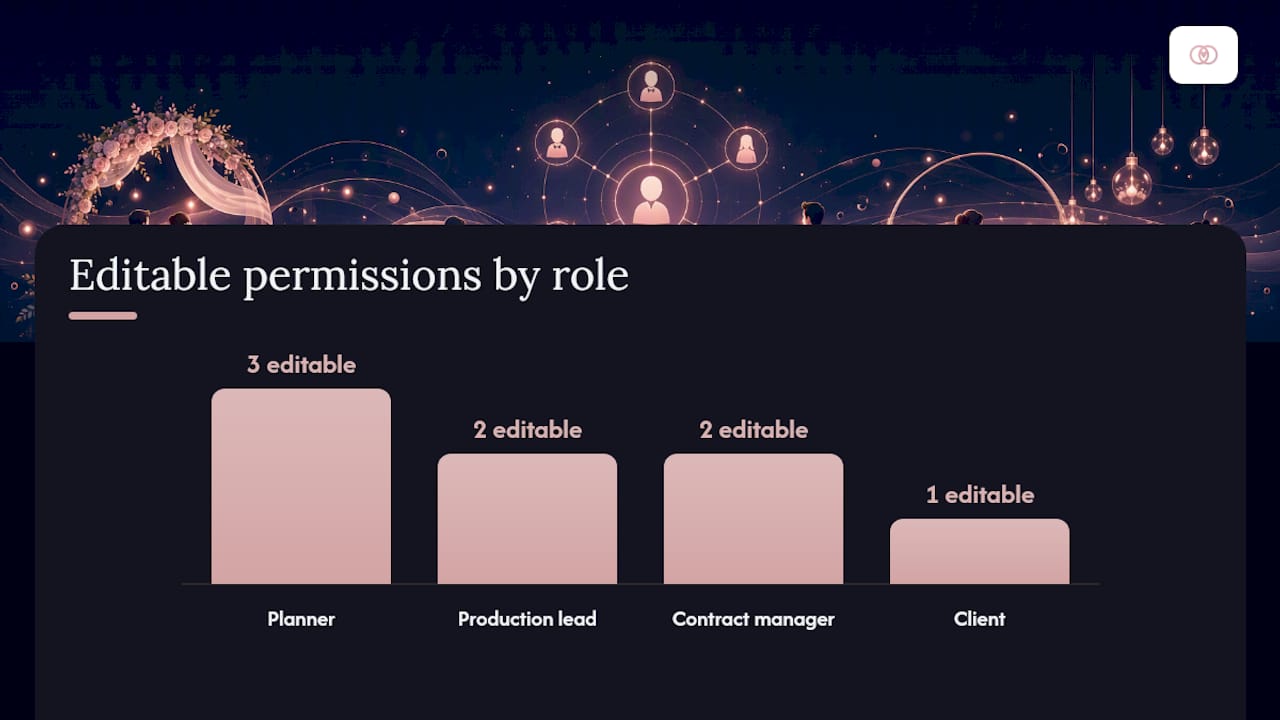
Permissions by role:
| Role | Can edit | Can approve | Client-facing |
|---|---|---|---|
| Planner | Intake, timeline, run sheet | No | No |
| Production lead | Timeline, vendor assignments | Timeline | No |
| Contract manager | Contract, payment schedule | Contract, invoices | No |
| Client | Profile details | RSVP, seating preferences | Yes |
What KPIs tell you whether your templates are actually working?
Track six metrics from day one: time saved per event, template reuse rate, tasks automated per event, invoice days outstanding, inquiry-to-booking conversion rate, and client portal adoption rate.
Sample KPI definitions:
| KPI | Definition | Calculation | Alert threshold |
|---|---|---|---|
| Time saved per event | Admin hours before vs. after templates | Baseline hours minus current hours | Less than 1 hour saved |
| Template reuse rate | Events using a standard template vs. custom | Standard events divided by total events | Below 80% |
| Tasks automated | Workflow-triggered tasks vs. manual | Automated tasks divided by total tasks | Below 60% |
| Invoice days outstanding | Average days from invoice sent to paid | Sum of days divided by invoice count | Above several days |
| Inquiry-to-booking rate | Bookings divided by qualified inquiries | Monthly bookings divided by inquiries | Below 30% |
Instrument templates by tagging each event record with template_id and workflow_flags so your dashboard can filter by package type and spot which templates underperform. Review KPIs weekly for active events and monthly for library-wide trends.
- Set a dashboard alert when template reuse drops below 80%, which usually signals a team member creating one-off files instead of using the library
- Review invoice days outstanding weekly; a spike often traces to a missing payment-trigger automation
How do you QA a template before it goes live?
Before any template touches a real client event, validate these six areas:
- Field mapping: confirm every merge field in the template has a corresponding data source in the intake form or event record
- Conditional logic: test each conditional block with values that trigger it and values that suppress it
- End-to-end dry run: run a complete test event from intake submission through day-of checklist delivery using sample data
- Error logging: confirm failed workflow steps generate a visible alert rather than silently skipping
- Permission checks: log in as each role and verify you can only access what that role should see
- Sample-data testing: use realistic but fictional data (not a real couple’s information) to catch formatting issues in merged outputs
Run planner, vendor, and client role tests separately. For active packages, schedule a monthly review of any template that generated a manual override in the previous month. Audit the full library quarterly to retire outdated versions and confirm naming conventions are still consistent.
How one studio eliminated manual setup at scale
Before adopting a template-driven approach, a wedding studio was rebuilding project structures manually for every new booking, spending hours on task assignment and deadline calculation alone. After translating their planning process into two master templates and connecting them via an automated integration, manual workflow creation was eliminated entirely. Task dependencies and assignee mappings populated automatically from the booking record, and backward-calculated due dates appeared without a single manual entry.
The before/after contrast was direct:
- Before: each new booking required several hours of manual project setup, task assignment, and deadline entry
- After: booking confirmation triggered full project creation in minutes, with all tasks, assignees, and deadlines pre-populated from the master template
To replicate this, request template screenshots, a sample workflow diagram, and a before/after time-tracking comparison from your platform provider as implementation artifacts.
What design rules keep your wedding brand consistent across every template?
Wedding planning aesthetics are not decoration. Every client-facing template, from the intake form to the portal welcome screen, should reflect your studio’s brand: consistent typography, your color palette, your logo placement, and your tone of voice in every automated message.
Three rules keep this consistent at scale. First, build brand variables (brand_color, logo_url, studio_name) into your template system so a single update propagates everywhere. Second, set a maximum of two typefaces across all templates, one for headings and one for body text, and enforce this in your template governance policy. Third, write a short copy style guide (three to five sentences) that defines how your studio addresses clients in automated messages, and paste it into every communication template as a reference block that gets removed before sending.
For client portals specifically, branded headers and footers on every page reinforce professionalism. Clients who see a polished, consistent portal trust the process more and ask fewer status-check questions.
Which automation triggers matter most in wedding planning?
The highest-value triggers are tied to date proximity and status changes, not just form submissions. A days_until_event countdown trigger at 180, 90, 60, 30, and 7 days covers the full planning arc. A vendor_contract_status change from “pending” to “signed” should trigger a confirmation to the couple and update the vendor tracker. An rsvp_deadline_passed trigger fires a final count to the caterer and updates the seating chart template automatically.
For email-driven communications, the most effective sequences pair a trigger with a specific template rather than a generic message. A 90-day trigger that sends the couple’s personalized timeline preview, pulled directly from the timeline template, is far more effective than a generic check-in email.
Rollout checklist for deploying templates across multiple wedding events
Use this checklist before activating any template for production use across your event portfolio:
- Confirm all merge fields are mapped to live data sources in your SaaS
- Test conditional blocks with both triggering and non-triggering values
- Run a full dry-run event from intake to day-of checklist using fictional sample data
- Verify role permissions: each team member and vendor sees only their assigned data
- Confirm all automated workflow steps log success or failure in the audit trail
- Send a test client portal invite and walk through the client experience end to end
- Document the template version number and approval date in your library index
- Schedule the first monthly review date before you mark the template as active
For each new wedding event added to your portfolio, assign the appropriate package-level template at booking confirmation and log any event-specific overrides in a named override file, never in the master template itself.
The case for treating templates as your studio’s most valuable operational asset
The conventional wisdom in wedding planning is that every event is unique, so systems only go so far. That framing is wrong in a specific way: the details of every event are unique, but the process is almost entirely repeatable. Studios that build their operations around that distinction, standardizing the process while leaving room for event-specific data, consistently outperform those that rebuild from scratch each time.
The real risk is not over-templating. It is under-governing. A template library with no versioning policy, no naming convention, and no QA cadence becomes a liability faster than a spreadsheet folder. The studios that get the most from a template-driven approach treat their library the way a law firm treats its contract library: every document has a version, an owner, and a review date.
One practical tip: pilot your intake-to-contract workflow on a single package before touching anything else. Measure the time saved on that one workflow, then use that number to build internal buy-in for the broader rollout.
Thespecialwedding gives you the template library and the automation layer in one place
Running a multi-wedding studio on disconnected tools means rebuilding the same project structure, chasing the same vendor confirmations, and reformatting the same documents for every new booking. Thespecialwedding is built specifically to end that cycle.
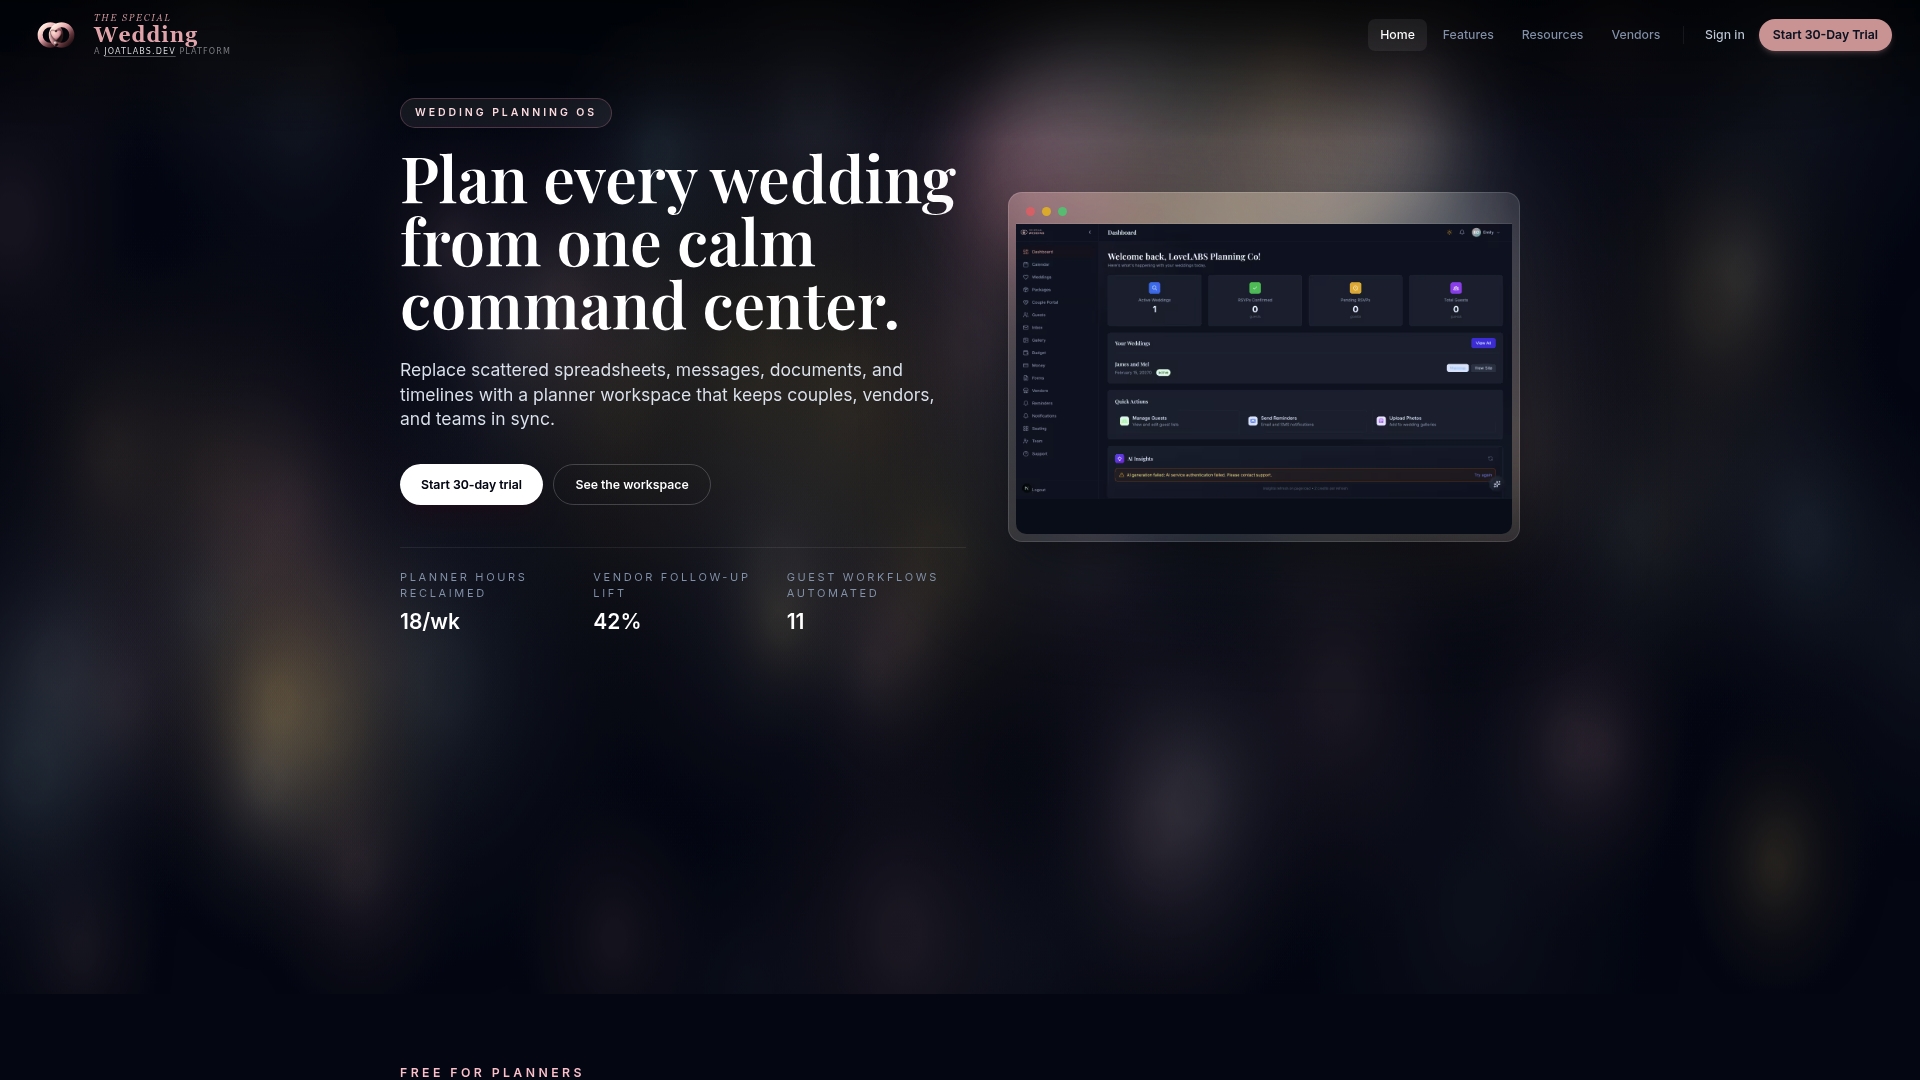
The platform gives professional planners a ready-made template and workflow system covering client intake, vendor onboarding, event timelines, seating charts, contracts with e-signature, budget and payment schedules, and day-of run sheets. Automated workflows connect those templates across the event lifecycle, client portals deliver a branded experience without extra design work, and real-time dashboards surface the KPIs that matter. You can browse vendor profiles like Castle Event Rentals directly within the platform and attach them to your vendor onboarding templates. Start a 30-day free trial at Thespecialwedding and run your first intake-to-contract workflow on a live package this week.
Sources
Publisher assets (Thespecialwedding):
- How to Scale a Wedding Planning Business: Case Study
- AI for Wedding Planners: A Practical 2026 Guide | Tommaso Maria Ricci
- What Is Workflow Automation in Wedding Planning? | OS For Your Business
- Emilyfostercreative
External references:
Recommended
- Wedding Planner Software & CRM for Pros — The Special Wedding
- Wedding Planner Contract Essentials: What to Include in 2026 | The Special Wedding Blog
- WeddingBills.com Alternatives for Planners & Studios 2026 | The Special Wedding Blog
- How to Price Your Wedding Planning Services in 2026 | The Special Wedding Blog
Free wedding planner templates
Skip the blank page — these templates ship with the form fields you actually need.
Browse all 9 free templates →