Wedding Lead Capture Forms: Templates and Best Practices
Wedding Lead Capture Forms: Templates and Best Practices
Three copy-paste wedding lead capture forms cover every scenario you’ll face: a short inquiry form for your hero page and social links (5 fields, 30 seconds to complete), a detailed intake form for qualified leads ready to book (10–12 fields with conditional logic), and a QR booth capture form for bridal expos and open houses (3 fields, instant opt-in). Deploy the short inquiry first — it handles the bulk of cold traffic. The intake form qualifies couples before the first call. The booth form captures names at events where attention spans are measured in seconds.
The single most important follow-up rule: reply within 60 seconds of submission, or use an automated autoresponder that fires immediately. The vendor who responds first wins the booking far more often than the vendor who responds best, hours later.
Key Takeaways
The most effective wedding lead capture strategy pairs a 5-field short inquiry form with an immediate autoresponder, then routes qualified couples into a detailed intake form that triggers CRM contact creation, deposit invoicing, and contract delivery automatically.
| Point | Details |
|---|---|
| Deploy the short form first | A 5-field inquiry form on your hero page and social links captures the most cold traffic with the least friction. |
| Reply speed is the conversion lever | An immediate autoresponder plus a personal reply within 60 minutes wins bookings before competitors respond. |
| Conditional logic qualifies without friction | Show budget and style fields only after a couple has answered date and guest count to protect completion rates. |
| UTM tracking reveals what actually converts | Tag every form link by source and campaign so you know which channels produce booked clients, not just submissions. |
| Thespecialwedding automates the full workflow | From branded inquiry form to CRM contact, deposit invoice, and contract trigger — all in one platform. |
Table of Contents
- Three Wedding-Ready Templates You Can Copy and Paste Right Now
- Conversion-Focused Best Practices for Wedding Lead Forms
- Which Fields Should You Actually Include in a Wedding Lead Form?
- Where to Publish and Share Your Wedding Lead Forms
- Integrations and Automation That Turn Submissions into Booked Jobs
- How to Measure Form Performance and Run Simple A/B Tests
- U.S. Privacy Checklist for Wedding Lead Forms
- How Thespecialwedding Implements These Forms and Workflows
- How to Customize Lead Capture Forms for Different Wedding Vendor Types
- How to Align Your Form’s Branding and Tone with Your Vendor Identity
- The Form Work That Actually Moves the Needle First
- Thespecialwedding Puts These Templates to Work for You
- Sources
Three Wedding-Ready Templates You Can Copy and Paste Right Now
These templates are built for planners and vendors who need working forms today, not a design sprint next month. Each includes exact field labels, CTA copy, and a confirmation message.
Template A: Short inquiry form (hero page and social links)
Use this on your homepage, your Instagram link-in-bio, and any paid ad landing page. Keep it to five fields. Anything longer and cold traffic bounces.
Fields:
- Full name (required)
- Email address (required)
- Wedding date — or “We’re still deciding” checkbox (required)
- Estimated guest count (required)
- How did you hear about us? (optional dropdown)
CTA button copy: “Check My Date”
Confirmation message: “You’re all set, [First Name]! We’ll be in touch within one business hour to confirm availability and share next steps.”
Template B: Detailed intake form (qualified leads and booking flows)
Send this after a couple responds to your short inquiry, or link it from your pricing page. Wedding questionnaire templates work best when they arrive after a couple has already shown intent.
Fields:
- Full names (both partners) (required)
- Email address (required)
- Phone number + preferred contact time (required)
- Wedding date (primary) (required)
- Alternative date(s) (optional)
- Venue name and city (required)
- Ceremony format: indoor / outdoor / TBD (required)
- Expected guest count (required)
- Approximate budget range (conditional — appears after guest count)
- Package or service interest (required dropdown)
- Inspiration photos (file upload, optional)
- Anything else we should know? (open text, optional)
Conditional logic note: Show the budget range field only after the guest count field is answered. Couples who have committed to one detail are far more likely to answer a second sensitive question.
CTA button copy: “Send My Details”

Confirmation message: “Thank you, [First Name]! We’ve received your inquiry and will reach out within one business hour. In the meantime, check your inbox for a short welcome note from our team.”
Template C: Event/booth QR capture form (expos and open houses)
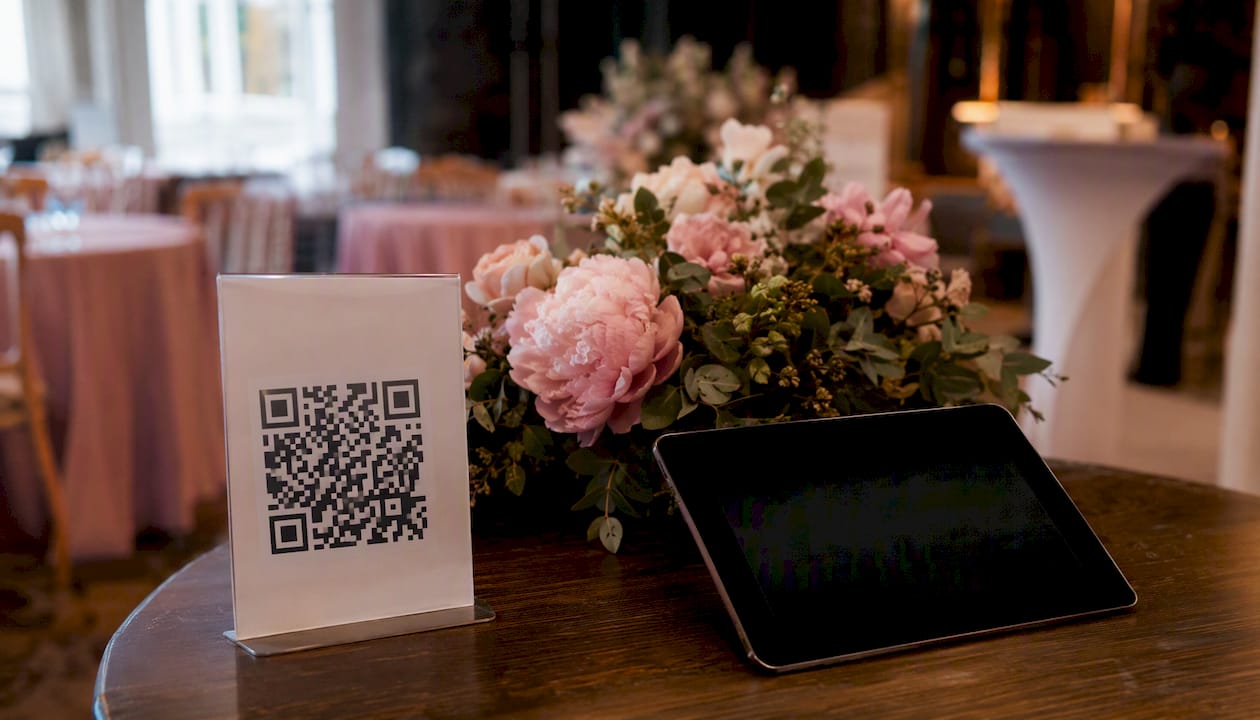
Three fields only. Couples at a bridal show are juggling tote bags and vendor cards — short QR capture forms consistently outperform longer ones in event environments because they remove every possible barrier to submission.
Fields:
- Full name (required)
- Email address (required)
- Wedding date (month and year is fine) (required)
Opt-in checkbox: “Yes, send me availability and pricing info.” (pre-checked, with a visible uncheck option)
CTA button copy: “Save My Spot”
Confirmation message: “Got it! We’ll email you within 24 hours with availability and a link to our full planning guide.”
Pro Tip: Place your QR code at eye level on a 5×7 tent card at the front of your booth table, with the words “Check Our Date Availability” printed above it. Couples scan out of curiosity, not obligation — that framing converts better than “Sign Up for Our Newsletter.”
Conversion-Focused Best Practices for Wedding Lead Forms
The biggest mistake planners make with wedding lead capture forms is designing them for their own data needs instead of the couple’s experience. Every field you add is a small exit door.
Lead with a value exchange
Couples submit their details when they get something back immediately. Well-designed forms offer a clear value exchange — an availability check, a pricing guide, or a guaranteed same-day reply. Your CTA should name that exchange explicitly. “Check My Date” outperforms “Contact Us” because it tells the couple what happens next.
Strong lead magnets for wedding vendors include: a free venue checklist, a sample timeline PDF, a budget calculator link, or simply the promise of a fast, personal reply. The last one is underrated. Couples planning a wedding are anxious about response times — a “reply within one hour” promise on your form is itself a conversion lever.
Write microcopy that removes friction
Microcopy is the small text around your fields: placeholder text, inline help, and error messages. Most forms skip it entirely, which leaves couples guessing.
- Placeholder text: Instead of “Email,” write “Your best email — we’ll send availability here.”
- Inline help: Under the budget field, add: “Rough ranges are fine — this helps us recommend the right package.”
- Error messages: Replace “Invalid input” with “Looks like something’s missing — double-check your email address.”
On mobile, every label should sit above its field, not beside it. Side-by-side layouts break on small screens and frustrate users mid-form.
Use progressive disclosure for longer forms
For detailed intake forms, multi-step forms with conditional logic consistently improve completion rates over single-page forms that show all fields at once. Show two or three fields per screen, with a progress indicator (“Step 2 of 4”). Couples who reach step 2 are far more likely to finish than those who see a wall of fields on page load.
Common pitfalls to avoid:
- Asking for budget before establishing rapport (kills completion)
- No confirmation message after submission (couples assume it failed)
- CTA copy that says “Submit” (generic, low-trust)
- Missing a privacy policy link (required for CCPA compliance and general trust)
- No mobile preview before publishing (test on an actual phone, not a browser resize)
Which Fields Should You Actually Include in a Wedding Lead Form?
The goal is to collect enough data to qualify the lead and prepare for the first call, without asking so much that the couple abandons the form. Here is how to sort your fields.
Must-have fields (include in every form):
- Full name
- Email address
- Wedding date (or “still deciding” option)
- Venue name or city
- Expected guest count
- Service or package interest
High-value optional fields (surface in intake forms, not short inquiries):
- Phone number and preferred contact time
- Budget range (show after guest count to reduce drop-off)
- Ceremony and reception format (indoor, outdoor, destination)
- Alternative dates
- Favorite vendors or style references
Conditional fields (show only when triggered):
- “Do you have a venue booked?” → If yes, show venue name field. If no, show “Are you open to venue recommendations?”
- “Are you interested in full planning or day-of coordination?” → If full planning, show timeline and budget fields. If day-of, skip to availability.
- “Would you like to upload inspiration photos?” → File upload appears only after the couple selects a style preference.
The rationale behind this structure: vendor intake forms for weddings that include date, guest count, budget range, and style preferences before the first call let you quote faster and appear more prepared. Budget is the most sensitive field — asking it too early signals that you’re screening for money rather than fit. Ask it after the couple has invested two or three answers, and completion rates hold up.
For a deeper look at how to build a client questionnaire that feeds directly into your planning workflow, that resource covers sequencing in detail.
Where to Publish and Share Your Wedding Lead Forms
The best form in the world converts nothing if it’s buried. Placement drives capture rate as much as design does. Lead capture forms belong where visitors expect to convert — not tucked in a footer or hidden behind a navigation menu.
Website placements:
- Hero section: Short inquiry form or a CTA button that opens it in a modal, placed in your highest-traffic area.
- Pricing page: Link to or embed the detailed intake form. Couples on your pricing page are already considering you.
- Booking confirmation email: After an initial inquiry, send the intake form link in your first reply.
Social and directory placements:
- Instagram link-in-bio: Use a link tool to route directly to your short inquiry form URL.
- Facebook page CTA button: Set it to “Contact Us” and link to your form, not your homepage.
- Google Business Profile: Add your form URL to the “Website” or “Appointment” link field.
- Venue directories: Platforms like Atavia Weddings let photographers and vendors attach inquiry links to their venue listings — a high-intent placement that many vendors overlook.
Bridal shows and expos:
Print your QR code large enough to scan from two feet away. Include a short URL below it as a fallback for couples whose cameras struggle with QR codes. Add UTM parameters to the QR URL (e.g., ?utm_source=bridal-show&utm_medium=qr&utm_campaign=spring-expo) so you can track which events drive submissions. Universal scanning at in-person events — QR codes, business cards with form links, and LinkedIn — raises capture rates significantly compared to relying on verbal follow-ups alone.
UTM tracking checklist:
- Source (e.g., instagram, bridal-show, google)
- Medium (e.g., social, qr, cpc)
- Campaign (e.g., spring-2026, open-house)
Review UTM data monthly to see which channels produce the most submissions and, separately, which produce the most booked clients.
Integrations and Automation That Turn Submissions into Booked Jobs
A form submission is a signal, not a booking. The automation layer is what converts that signal into revenue. Defining your qualification criteria and configuring integrations before you publish a form saves hours of manual follow-up every week.
Integrations that matter for wedding teams:
- CRM contact creation: Every submission should auto-create a contact record with the submitted fields mapped to the right properties.
- Calendar availability check: Trigger a calendar lookup on the submitted wedding date and flag conflicts before your first reply.
- Email/SMS autoresponder: Fire an immediate confirmation email (and optionally an SMS) the moment a form is submitted.
- Stripe or payment processor: For intake forms that include a deposit step, trigger a payment link after the couple is qualified.
- E-signature for contracts: Once a deposit is collected, auto-send a contract via your e-sign tool. Contract essentials for wedding planners covers what those contracts should include.
Automation example A: Incoming inquiry workflow
- Couple submits short inquiry form.
- Autoresponder fires immediately: “We received your inquiry, [First Name]! Expect a personal reply within one business hour.”
- Team alert (email or Slack) notifies the assigned planner.
- Planner reviews the submission and replies personally within 60 minutes.
Automation example B: Qualified intake to booking
- Couple completes detailed intake form.
- CRM creates a new contact and deal, tagged by source and wedding date.
- Planner reviews and sends a deposit invoice via Stripe.
- On payment confirmation, contract is auto-sent for e-signature.
- Signed contract triggers a welcome email with the planning portal link.
For teams using Zapier or native webhooks, map each form field to its CRM equivalent before going live. A mismatch between “Wedding Date” on the form and “Event Date” in your CRM creates duplicate records and missed follow-ups. AI-driven automation is increasingly handling the triage step — routing high-budget inquiries to senior planners and flagging date conflicts automatically.
How to Measure Form Performance and Run Simple A/B Tests
You cannot improve what you do not track. Four metrics tell you almost everything about how your wedding inquiry forms are performing.
| Metric | Definition | Target |
|---|---|---|
| Form conversion rate | Submissions divided by form views | Varies by placement; hero forms typically convert higher than footer forms |
| Qualified lead rate | Leads that meet your criteria divided by total submissions | Depends on your qualification threshold |
| Response time | Minutes from submission to first human reply | Under 60 minutes |
| Booking conversion | Booked clients divided by qualified leads | Track weekly to spot seasonal trends |
Track these weekly by channel using your UTM data. Differences in conversion by channel often indicate message mismatches rather than form issues.
A/B test ideas, prioritized by impact and effort:
- CTA copy: Test “Check My Date” vs. “Get My Free Availability Check.” One word change can shift completion rate meaningfully. CTA copy and form length are among the highest-impact variables to test.
- Number of fields: Run your 5-field short form against a 3-field version. Fewer fields almost always improve raw completion rate; the trade-off is lead quality.
- Single-step vs. multi-step: A single page of five fields vs. a two-step form (name/email first, then date/guest count/service) often favors multi-step for mobile users.
- Confirmation message: Test a plain text confirmation vs. one that includes a link to your portfolio or a “what happens next” explainer. The latter tends to reduce no-shows on discovery calls.
- Mobile layout: Test a stacked single-column layout vs. a two-column desktop layout that collapses to single on mobile.
Run one test at a time, wait for at least 50 submissions per variant before drawing conclusions, and document results in a simple spreadsheet.
U.S. Privacy Checklist for Wedding Lead Forms
Collecting contact data from couples means you have legal obligations, even as a small business. CCPA (California Consumer Privacy Act) applies to businesses that collect personal data from California residents, which includes any planner or vendor with a national web presence.
Consent and disclosure checklist:
- Include a visible link to your privacy policy on every form
- Add a one-sentence opt-in statement near the submit button for marketing communications
- State clearly how submitted data will be used (e.g., “to respond to your inquiry and send availability information”)
- Never pre-check a marketing opt-in box without a visible uncheck option
Sample consent language (copy and adapt):
For marketing opt-ins specifically:
Storage and retention:
- Store form submissions in an encrypted platform, not a shared spreadsheet
- Delete contact records for leads that do not convert after 12 months, unless your state requires a different retention period
- Limit file uploads (inspiration photos, vendor documents) to what you actually need — storing unnecessary personal files creates liability
Pro Tip: If you collect inspiration photos or vendor insurance documents through your intake form, store them in a platform with role-based access controls. A shared Google Drive folder visible to your entire team is not adequate for personally identifiable documents.
How Thespecialwedding Implements These Forms and Workflows
Thespecialwedding is built around exactly the workflow this guide describes. Branded inquiry forms, detailed intake templates, calendar sync, CRM contact creation, contract triggers, and payment collection are all native to the platform — not stitched together through third-party tools.
Here is how a typical submission flows inside Thespecialwedding:
- Couple submits a branded inquiry form on your Thespecialwedding vendor page (for example, a venue listing like V2 Events at Vast or a planner profile like Royal Event Consulting).
- A contact and deal are created automatically in your CRM pipeline, tagged by source and wedding date.
- An automated confirmation email fires immediately to the couple.
- The planner receives an alert and reviews the submission in the dashboard.
- On qualification, a deposit invoice is sent via the platform’s payment workflow.
- Contract signature triggers the welcome sequence and opens the couple’s planning portal.
Most planners complete their first form setup and receive their first test submission within a single session. The Thespecialwedding knowledgebase covers every configuration step, from field mapping to automation triggers.
How to Customize Lead Capture Forms for Different Wedding Vendor Types
A photographer’s intake form should look nothing like a caterer’s. The fields that qualify a couple for one service are irrelevant — or even off-putting — for another. Customizing your vendor intake forms for your specific service category is one of the fastest ways to improve lead quality without changing your marketing.
Photographers: Ask about shooting style preferences (documentary, editorial, posed), ceremony and reception timing, and whether a second shooter is needed. A file upload for inspiration images works especially well here — couples who send mood boards are far more likely to book. For practical examples of how photographers structure their inquiry flows, Alex Gell Photography illustrates a clean, service-specific contact approach.
Florists: Include fields for ceremony and reception venue (lighting and space affect floral choices), color palette preferences, and specific arrangements needed (bridal bouquet, centerpieces, ceremony arch). Add a conditional field: “Do you have a florist budget in mind?” — florists who ask this early filter out mismatched inquiries before spending time on consultations. The Arrangement is a good example of a vendor page where floral-specific intake fields can be embedded directly.
Caterers: Guest count and dietary restrictions are non-negotiable fields. Add service style (plated, buffet, stations), whether bar service is included, and the venue’s kitchen access status. Caterers benefit from a “tasting session interest” checkbox — it’s a low-commitment next step that moves leads forward without requiring a full booking decision.
Officiants: Keep it short. Date, time, ceremony length, and whether the couple wants a religious, civil, or custom ceremony covers most of the qualification work. Strategies for officiant bookings often emphasize how quickly a simple, specific form converts compared to a generic contact page.
Rental companies and transportation vendors: Focus on logistics. Delivery address, setup time, pickup time, and item quantities are the fields that matter. A “special requests” open text field catches the edge cases without requiring you to anticipate every scenario.
The underlying principle: every vendor type has two or three fields that do the real qualification work. Build your short inquiry form around those, and save the rest for the intake form.
How to Align Your Form’s Branding and Tone with Your Vendor Identity
Your inquiry form is often the first interactive experience a couple has with your business. A form that looks generic or feels mismatched from your website signals inconsistency — and couples planning a wedding are acutely sensitive to whether a vendor’s brand feels cohesive.
Visual alignment: Match your form’s font, color palette, and button style to your website. If your brand uses a deep navy and gold palette, a white form with a blue submit button creates a jarring disconnect. Most form platforms allow custom CSS or at minimum a color picker — use it. Your logo should appear at the top of standalone form pages.
Tone alignment: The language in your field labels and microcopy should sound like you. A luxury planner’s form reads differently from a boho-casual photographer’s. Compare:
- Luxury: “Please share your vision for the day.” vs. Casual: “Tell us a little about your wedding vibe.”
- Luxury: “We will be in touch at your earliest convenience.” vs. Casual: “We’ll reach out soon — usually within an hour!”
Neither is wrong. The one that matches your brand is right.
Confirmation message tone: This is the most overlooked branding touchpoint on any form. After a couple submits, they read your confirmation message carefully — it’s the first thing you’ve said to them directly. Make it warm, specific, and consistent with how you’d open a first email. Avoid generic “Your form has been received” language entirely.
For planners managing multiple vendor relationships, wedding planner email templates offer a useful reference for matching tone across every client-facing touchpoint, including form confirmations and autoresponders.
The Form Work That Actually Moves the Needle First
Most planners who read a guide like this feel the pull to do everything at once — build all three templates, configure every integration, set up A/B tests. That approach stalls. Here is a more honest prioritization.
In the first 24 hours: Deploy the short inquiry form on your homepage and Instagram link-in-bio. Connect it to an email autoresponder that fires immediately on submission. Those two steps alone will capture more leads than most planners currently convert, because the reply speed problem is the most common failure point in wedding vendor sales. Lead management workflows that include an immediate autoresponder consistently outperform manual-only follow-up.
In the first 72 hours: Build the detailed intake form and link it from your pricing page and your first autoresponder email. Map its fields to your CRM so every submission creates a contact automatically. This is where most of the qualification work happens — and where planners who skip it end up spending 30 minutes on discovery calls that a 10-field form would have resolved in advance.
In the first two weeks: Add the QR booth form if you have an expo or open house coming up. Run your first A/B test on CTA copy. Review your UTM data to see which channel is sending the most submissions and whether those submissions are converting to booked clients.
If you’re a solo planner without a VA or coordinator, batch your form setup into two focused sessions rather than trying to configure everything between client calls. The short inquiry plus autoresponder is a 90-minute project. The intake form and CRM mapping is another two hours. The rest can wait until those two are working.
Thespecialwedding Puts These Templates to Work for You
Stop building your intake workflow from scratch in five disconnected tools. Thespecialwedding gives you branded inquiry forms, automated confirmations, CRM contact creation, deposit invoicing, and contract triggers in one platform — so the workflow this guide describes is ready to configure, not ready to cobble together.
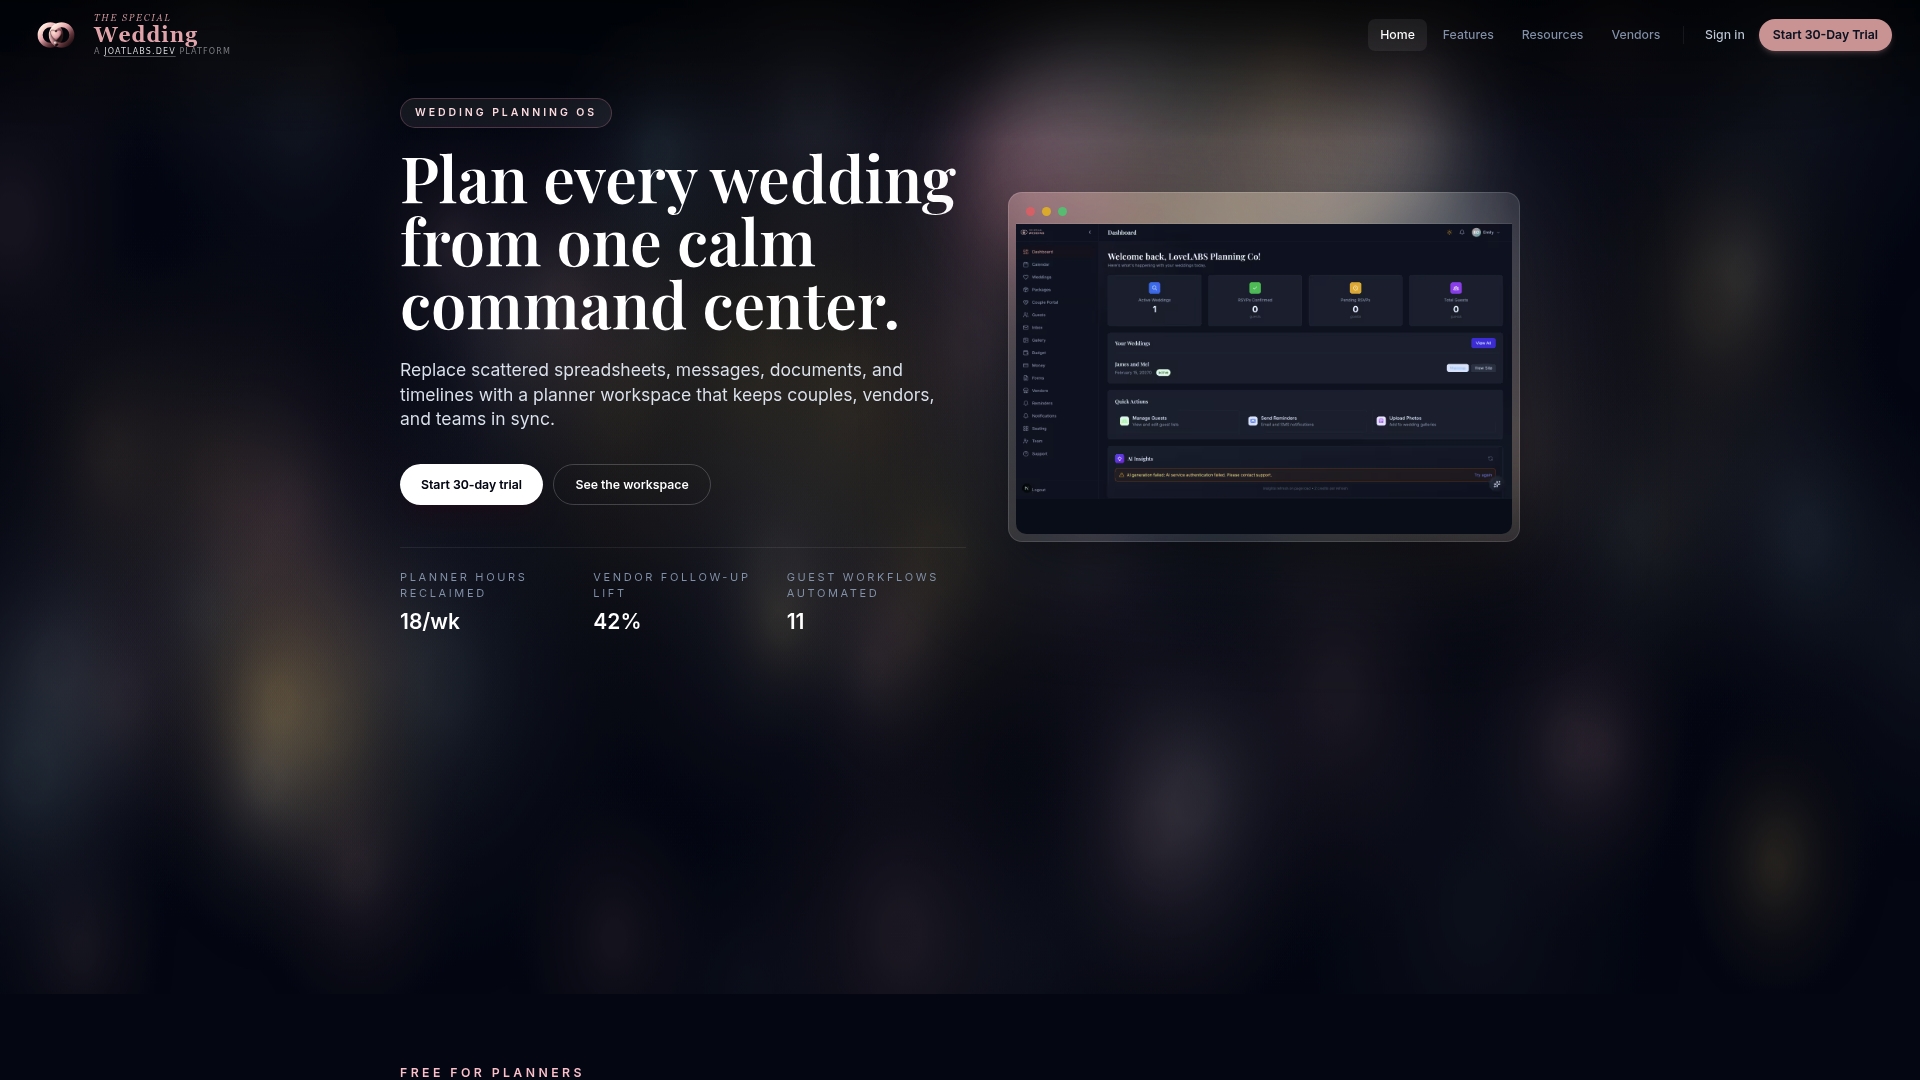
Planners who move their lead capture into Thespecialwedding stop losing inquiries to slow follow-up and start converting more of the couples who were already interested. The platform’s vendor pages, like the planning and decor profile for Royal Event Consulting, show exactly how an embedded inquiry form looks inside a live vendor listing. Start your free 30-day trial at Thespecialwedding and have your first form live before your next inquiry arrives.
Sources
- Lead capture forms: Best practices with examples
- How to Best Capture Leads at In-Person Events - Blinq
Recommended
- Wedding Lead Management for Planners: 2026 Guide | The Special Wedding Blog
- The Role of Wedding Questionnaire Templates for Pros | The Special Wedding Blog
- Wedding Planner Contract Essentials: What to Include in 2026 | The Special Wedding Blog
- The Role of Wedding Planner Email Templates | The Special Wedding Blog
Free wedding planner templates
Skip the blank page — these templates ship with the form fields you actually need.
Browse all 9 free templates →