Operational Wedding Vendor Onboarding for Planners and Marketplaces
Operational Wedding Vendor Onboarding for Planners and Marketplaces
Send one branded portal link within 60 minutes of booking a vendor, paired with a five-minute first task, and completion rates jump immediately. That first message should also request three things: the primary contact, availability for the event date, and proof of insurance or required licensing. Everything else in a strong wedding vendor onboarding process builds on that first hour.
TL;DR:
- Sending a branded portal link and a first micro-task within 60 minutes significantly increases vendor completion rates and sets a professional tone.
- A layered onboarding process that starts with basic details and progresses to service specifics and logistics improves vendor compliance and reduces dropout.
- Verifying insurance and licenses early by assigning an explicit owner prevents costly liability gaps during the event.
- Automating reminders, status updates, and milestone triggers saves hours per vendor and maintains momentum at scale.
- Completing full onboarding within two weeks prevents vendor disengagement and last-minute logistical issues.
Thespecialwedding thespecialwedding.io
Streamline Vendor Onboarding
Manage vendor intake, onboarding, timelines, communication, and follow-up in one collaborative workspace built for wedding planners.Explore TheSpecialWedding
Table of Contents
- What Is Wedding Vendor Onboarding, Exactly?
- Vendor Onboarding Checklist: The Step-By-Step Workflow
- Templates and Documents: What to Actually Collect
- Vendor Portals and Automation That Actually Speed Things Up
- How Long Should Vendor Onboarding Take?
- Common Vendor Onboarding Mistakes (And the Fix for Each)
- How an Integrated Platform Handles Onboarding at Scale
- Why Most Onboarding Advice Misses the Point
- Where TheSpecialWedding.io Fits Into Your Onboarding Workflow
- Templates and Guides Worth Bookmarking
- Sources
- FAQ
What Is Wedding Vendor Onboarding, Exactly?
Wedding vendor onboarding is the structured process of vetting, contracting, and integrating a vendor into your workflow, from the first inquiry through their first completed event. It covers document collection, contract execution, portal setup, and the internal handoffs that keep a vendor visible on your team’s radar instead of buried in an inbox. For marketplace operators, it also includes the compliance checks that protect couples from booking an unverified supplier.
The term gets used loosely in the industry, sometimes interchangeably with “vendor management” or “vendor intake.” Vendor management is the ongoing relationship, tracking performance, renewing contracts, resolving disputes. Onboarding is the front door: the specific sequence that gets a vendor from “interested” to “fully integrated and ready to work.” Get the front door wrong, and every downstream task inherits that friction.
Vendor Onboarding Checklist: The Step-By-Step Workflow
A good wedding vendor onboarding checklist follows a strict order, not because sequence is bureaucratic preference but because each step depends on the one before it. Skip ahead, and you end up chasing signatures on a contract for services nobody has confirmed yet.
1. Pre-onboarding vetting. Before you send anything official, qualify the vendor fast. Check for an active business license, general liability insurance at the coverage level your contracts require, and at least one verifiable reference or portfolio sample. A five-minute phone call or a short qualifying form can filter out vendors who will cause problems later. Marketplace operators should treat this as a gate, not a formality. Vendor success programs exist because vendor quality determines platform quality, and quality control starts at the first screen.
2. Invite. Once a vendor clears vetting, send the single branded link. This is the moment that sets the tone. A vendor who gets a clean, mobile-friendly portal link forms a more professional impression than one who receives a PDF attachment and a request to “print, sign, and scan back.”
3. Contract. The vendor reviews and signs before diving into detailed intake. Contracts should already include payment terms, cancellation clauses, and liability language specific to weddings, not generic service agreements. If your current contract template is thin on wedding-specific protections, fix that before you scale onboarding volume, because every new vendor multiplies your exposure to the same gaps.
4. Intake. This is where most onboarding processes either work or collapse under their own weight. Research from wedding planning practitioners shows that layered intake, short basics first, then service specifics, then logistics, increases completion because it avoids front-loading a wall of questions that scares off a busy vendor. Structure it in three passes:
- Layer 1, basics: company name, primary contact, phone, service category, and event date confirmation. Five fields, five minutes.
- Layer 2, service details: equipment lists, staffing plans, setup and teardown windows, and any add-on services.
- Layer 3, logistics: parking needs, load-in access, power requirements, and blackout dates for the season.
5. Verification. Someone on your team, or an automated document check, confirms insurance is current, licenses match the service category, and signed documents are complete. This step gets skipped constantly, usually because nobody owns it explicitly.
6. Kickoff. The vendor gets a welcome message, a point of contact, and a first live task, confirming their timeline slot or submitting a setup diagram.
Each milestone needs a matching internal handoff. When a contract gets signed, someone on your team should be notified to schedule the kickoff call, following a wedding shuttle timeline that ensures smooth vendor scheduling. When insurance is verified, someone should update the vendor’s status so nobody re-checks the same document twice. Copy-ready micro-tasks work well here because vendors respond better to a specific ask than an open-ended request:
- “Confirm your team size for the 6/14 wedding, reply with a number.”
- “Upload your current certificate of insurance, this takes about two minutes.”
- “Pick your setup window from the two options in your portal.”
Small, specific requests get answered faster than broad ones, and each completed micro-task builds momentum toward full onboarding.
Templates and Documents: What to Actually Collect
A supplier onboarding form should capture six categories: business credentials, insurance verification, service offerings, availability, payment structure, and coordination preferences, according to a wedding venue supplier onboarding template built specifically for this purpose. Skip any of these and you will be emailing the vendor again within a week.
Field-level, your intake form should include:
- Legal business name and DBA if applicable
- Business license number and issuing state
- Insurance carrier, policy number, coverage limits, and expiration date
- Equipment or rider requirements (specific to service type)
- Payment terms: deposit percentage, balance due date, accepted methods
- Blackout dates and maximum bookings per weekend
- Preferred communication channel and response time expectations
Not every vendor needs every field. A caterer needs kitchen access requirements and food handling permits; a musician needs power specifications and sound ordinance awareness. Conditional logic, showing a field only when it’s relevant, keeps forms short without cutting corners. A multi-step event vendor onboarding template typically routes vendors through welcome, vendor info, licenses and permits, insurance, service documents, and safety and compliance screens in that order, which mirrors the sequence outlined above.
For documents specifically, insurance is the field most planners underweight. Requesting a certificate of insurance at intake, rather than assuming a vendor has coverage, catches gaps before the event, not during it. Assign one person, not “whoever has time”, to verify certificates against your minimum coverage requirements every time.
Pro Tip: Build your form with eSignature and secure upload built in, not a separate step. A vendor who has to sign one document, then upload another to a different email, drops out more often than one completing a single flow.
Template providers like Paperform also support conditional routing and integrations with tools such as Airtable and Google Sheets, which means a submitted form can automatically populate your tracking system instead of requiring manual entry.
Vendor Portals and Automation That Actually Speed Things Up
A single-link portal beats email attachments and passworded accounts on every measurable dimension: fewer support questions, faster document turnaround, and a paper trail you can actually audit. Vendors juggling five weddings for five different planners do not want five different login systems. They want one link that shows exactly what’s left to do.
A well-designed vendor card inside a portal or CRM should surface the critical fields at a glance: contract status, insurance expiration, payment milestones, linked event history, and tags for quick filtering by service category or availability. When you’re staffing twelve weddings in one weekend, being able to filter “florists, verified insurance, available June 14” in one search saves hours that used to go into spreadsheet scanning.
Automation does the heavy lifting once the structure exists:
- Automatic reminders when a document is 48 hours from expiring
- Conditional nudges, a different message for vendors who haven’t started intake versus those stuck at signature
- Calendar sync so a confirmed booking automatically blocks that vendor’s availability for other events
- A validation dashboard showing which vendors still need insurance review
Planners who systematize this stage save real time. One practitioner report found planners spend an average of 11 hours onboarding each new couple when the process runs manually, hours that automated reminders and centralized intake claw back almost immediately when applied to vendor onboarding rather than client onboarding.
If you’re still running vendor tracking through spreadsheets, the migration is more straightforward than it looks. Export your vendor list as a CSV with a predictable schema: contact, category, insurance expiry date, event history. Add a verification column so document status stays auditable during and after the move. Import that into your vendor CRM in one pass instead of retyping records vendor by vendor. A dedicated vendor portal that supports this kind of import saves the weeks that manual re-entry usually costs.
How Long Should Vendor Onboarding Take?
Onboarding that drags past two weeks tends to lose vendors to disengagement, or worse, they show up on the event day having never confirmed logistics that mattered. A tight timeline keeps everyone accountable.
| Milestone | Target window | What should be complete |
|---|---|---|
| Initial contact | Within 60 minutes | Portal link sent, first micro-task assigned |
| Contract and Layer 1 intake | Within 48 hours | Signed contract, basic details confirmed |
| Full intake and documents | Within 1 week | Insurance uploaded, service details submitted |
| Verification complete | Within 2 weeks | Documents verified, vendor status updated |
| Kickoff | Onboarding complete | Welcome sent, first live task assigned |
Four KPIs matter most for tracking this process:
- Time-to-complete intake: the span between portal send and full form submission. Anything over five days signals friction in your form or a vendor who needs a nudge.
- Document completion rate: the percentage of required documents submitted without a manual follow-up.
- Vendor responsiveness: average reply time to reminders, useful for flagging vendors who may become communication problems later.
- Onboarding conversion rate: the percentage of invited vendors who complete the full sequence versus those who stall out.
Track these weekly if you’re a solo planner, daily if you’re a marketplace operator managing volume. A simple dashboard with these four widgets, plus a rolling list of “stalled over 5 days,” gives you a prioritized follow-up list every morning instead of a mental note to “check on vendors sometime.”
Common Vendor Onboarding Mistakes (And the Fix for Each)
Most onboarding breakdowns trace back to five repeatable mistakes, and every one of them has a direct fix.
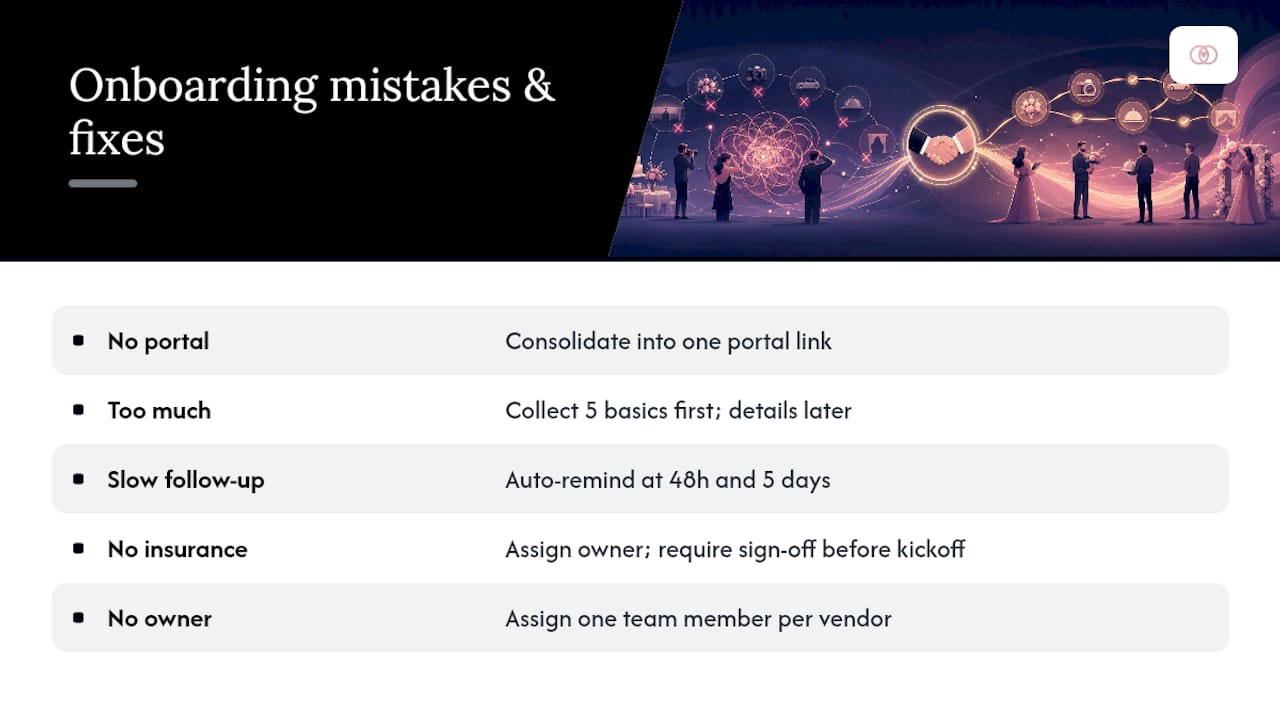
No single portal. Vendors juggling email threads, text messages, and shared drives lose track of what’s outstanding. Fix: consolidate everything into one link before you invite a single new vendor.
Asking too much too soon. A twenty-field form on day one kills momentum. Fix: layer the intake, five basic fields first, details later, exactly as outlined in the checklist above.
Slow follow-up. Vendors who don’t hear back within 48 hours start to assume the booking isn’t serious. Fix: automate a reminder at 48 hours and a second at 5 days, with a slightly different message each time. Something like “Just checking, did the portal link come through okay?” works better than a repeated identical nudge.
Absent insurance checks. Skipping verification because “they’ve probably got coverage” is how liability gaps surface at the worst possible moment. Fix: assign one named owner for insurance verification and require sign-off before kickoff.
No internal owner. When onboarding is “everyone’s job,” it’s nobody’s job. Fix: assign a single team member per vendor for the full sequence, even on a two-person team.
Pro Tip: Run a quick self-audit: pull your last ten onboarded vendors and time how long each stage took. If intake consistently drags past a week, the problem is almost always the form length, not the vendor’s attentiveness.
How an Integrated Platform Handles Onboarding at Scale
Manual onboarding works for two or three vendors a month. It breaks down fast past that volume, which is why integrated platforms build the checklist above directly into the software instead of leaving it to memory and spreadsheets.
The mechanics look like this: a planner sends a portal link, the vendor completes Layer 1 intake, and the system automatically triggers a payment milestone reminder and schedules the kickoff call, all without a manual status check. Vendor cards carry linked contracts, insurance expiration alerts, and event history in one view, so a planner running fifteen weddings in a season can filter by status instead of scrolling a shared spreadsheet.
What actually reduces onboarding time at scale:
- Reusable templates by vendor category, so a florist form and a caterer form don’t share irrelevant fields
- Automated reminders tied to specific milestones, not generic follow-up blasts
- A single dashboard view showing every vendor’s verification status across active events
- Payment milestones that trigger automatically once contract and intake steps are marked complete
This is less about technology for its own sake and more about removing the fifteen small decisions a planner makes manually every time a new vendor joins the roster.
Why Most Onboarding Advice Misses the Point
The conventional advice on vendor onboarding treats it as a documentation problem: collect the right paperwork, store it somewhere safe, done. That framing is incomplete. The real failure point isn’t missing paperwork, it’s sequence and ownership. Vendors don’t drop off because a form is too long in the abstract; they drop off because the first ask was too big, or because nobody followed up within a window that matched their attention span.

What the research actually supports is that structure beats effort. A planner who sends a five-field first task and automates the second nudge will outperform a planner who personally chases every vendor by phone, every time, because the automated version doesn’t degrade under volume.
If there’s one place to focus first, it’s the invite-to-intake gap. Fix the first 60 minutes and the first 48 hours, and most of the downstream mess, the missed insurance certificates, the stalled contracts, the frantic week-before scrambling, simply stops happening. Everything else in this article is refinement. That gap is the leverage point.
— JOATLABS
Where TheSpecialWedding.io Fits Into Your Onboarding Workflow
An integrated platform built around the exact sequence this article lays out offers a unified workspace including branded single-link portals for vendors, vendor cards showing contract status and insurance expiration, customizable intake templates by service category, and automated reminders tied to onboarding milestones. Payment milestones can trigger once intake steps clear, reducing the need for manual checks.
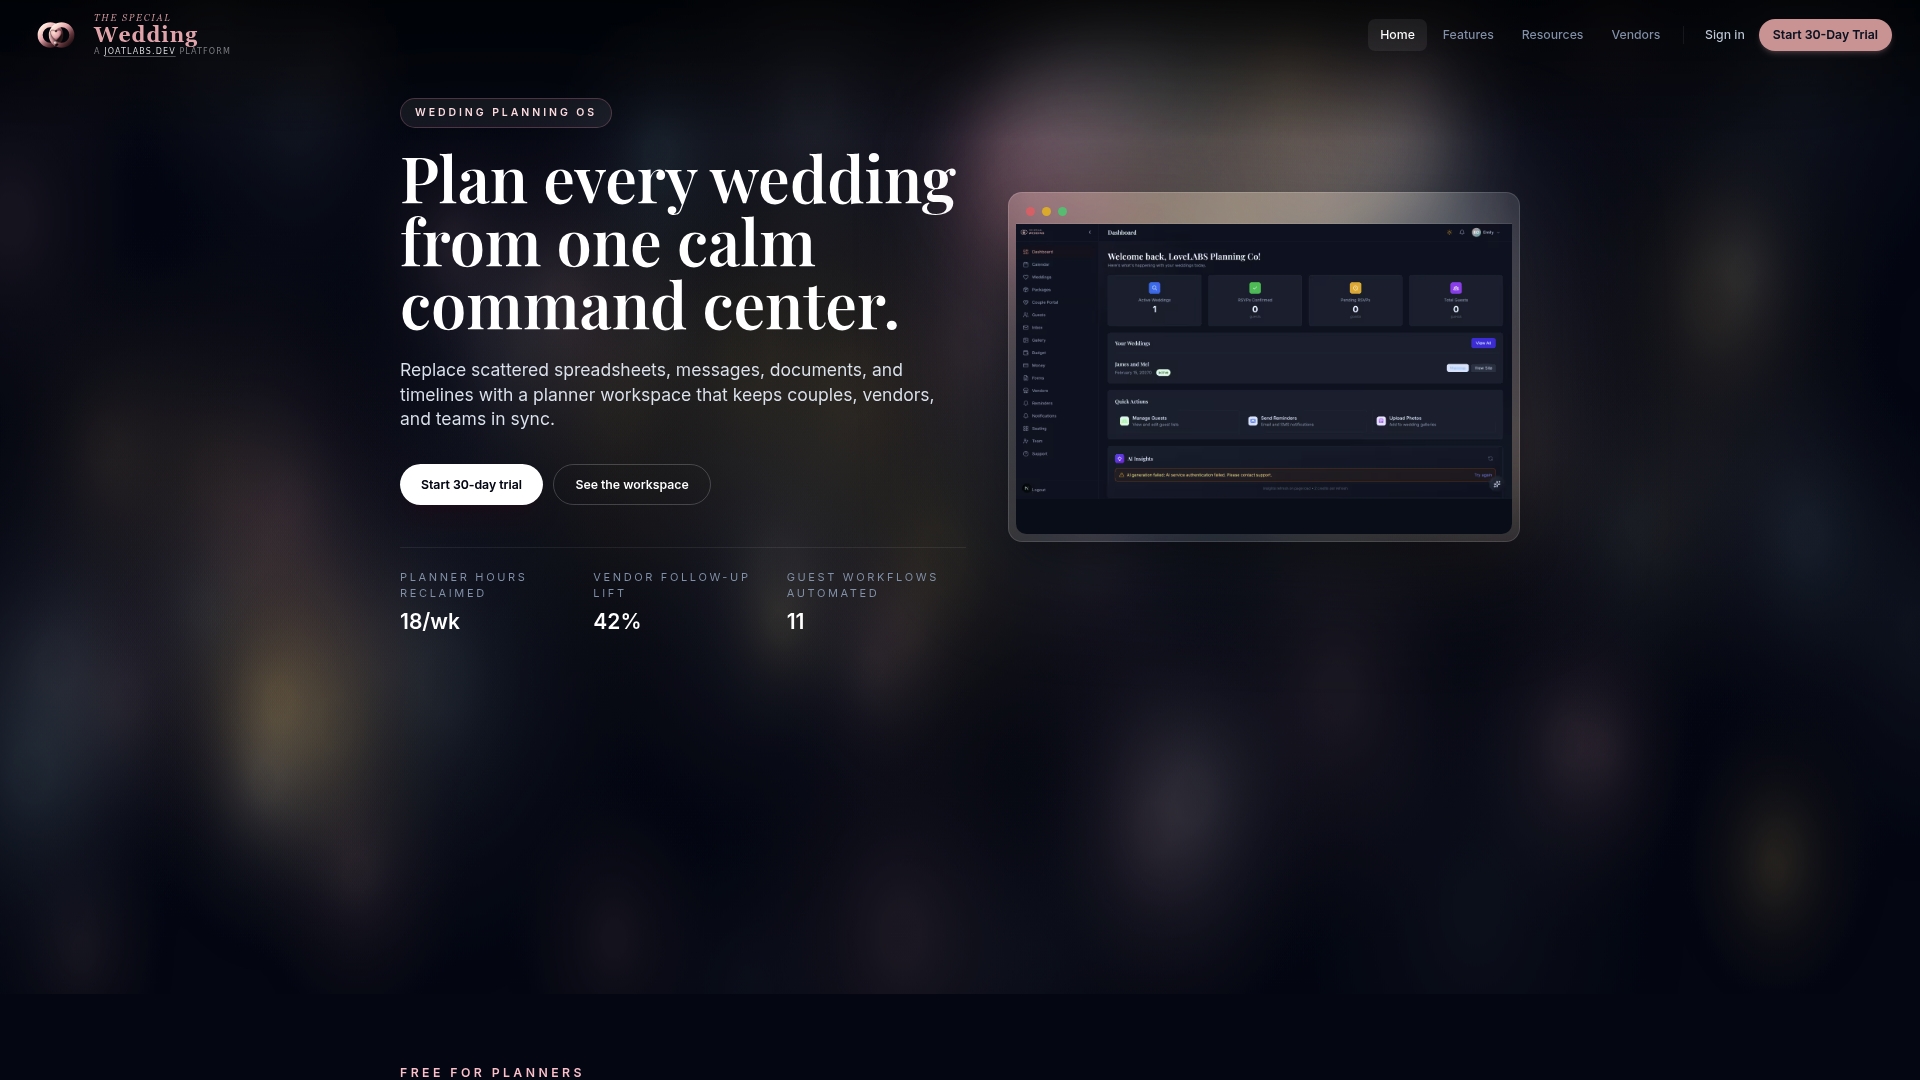
This setup benefits solo planners juggling a growing vendor roster just as much as agencies and marketplace operators managing dozens of suppliers across multiple weddings a season. If you’re currently tracking vendors across spreadsheets, email folders, and a shared drive, the honest next step is to see what a consolidated system looks like with your own vendor list. Browse the vendor directory to see how vendor profiles and onboarding data live inside the platform, then start a trial to run your next vendor through the workflow yourself.
Templates and Guides Worth Bookmarking
- Wedding venue supplier onboarding form template, a ready-to-adapt field structure for intake forms.
- Event vendor onboarding template, a multi-step document collection flow.
- Marketplace vendor onboarding guide, for operators building vendor success programs at platform scale.
- Vendor scheduling and coordinator handoffs, for day-of logistics planning.
Sources
- Wedding Venue Supplier Onboarding Form Template | Paperform
- Event vendor onboarding Template | Superdocu
- Client Onboarding for Wedding Planners: The Stress-Free System That Wows Couples (Without Drowning You in Email) | OnboardMap
- How to build a marketplace for wedding services | Sharetribe
FAQ
What Is the Process of Vendor Onboarding?
It runs through six stages: pre-onboarding vetting, invite, contract signature, layered intake, document verification, and kickoff, with an internal owner assigned to move each vendor between stages.
What Is the 50/20/30 Rule for Weddings?
It doesn’t relate directly to vendor onboarding, but planners often reference it when setting vendor payment expectations during intake.
Are Wedding Expos Worth It for Vendors?
Expos can generate leads and visibility for vendors building a client base, but their value depends heavily on the vendor’s category and the expo’s audience quality; they’re not a substitute for a solid onboarding process once a booking is confirmed.
What Is the 30-5 Rule for Weddings?
Definitions of this rule vary across the industry, and it isn’t tied to a single standardized framework, so treat any specific version you encounter as one interpretation rather than a fixed standard.
How Long Should Wedding Vendor Onboarding Take?
A well-run onboarding process should reach full completion within two weeks: portal link and first task within 60 minutes, signed contract within 48 hours, and verified documents within one week, with kickoff following shortly after.
Recommended
Free wedding planner templates
Skip the blank page — these templates ship with the form fields you actually need.
Browse all 9 free templates →