Vendor Task Management for Wedding Events: 2026 Guide
Vendor Task Management for Wedding Events: 2026 Guide
Vendor task management for wedding events is the system planners use to assign, track, and confirm every vendor deliverable from initial booking through post-event close-out. Run it from one collaborative platform configured with reusable templates and automated reminders, and you eliminate the fragmented DMs, missed payments, and day-of surprises that derail even well-planned weddings. According to The Knot’s 2025 Real Weddings Study, the average couple hires 14 wedding professionals, which means you’re coordinating 14 separate contracts, payment schedules, timelines, and communication threads simultaneously. A structured system isn’t optional at that scale.
Three things to do right now:
- Centralize all vendor documents (contracts, insurance certificates, payment schedules) in one shared workspace
- Assign a single named point of contact for every vendor before the 30-day mark
- Set automated confirmation reminders at 30 days, 14 days, and 72 hours out
Budget a 15–20% contingency on top of vendor line items to cover service charges, delivery fees, and vendor meals. Thespecialwedding is built specifically to support all of this in one place.
Table of Contents
- What does vendor task management actually include?
- Why structured vendor coordination prevents costly failures
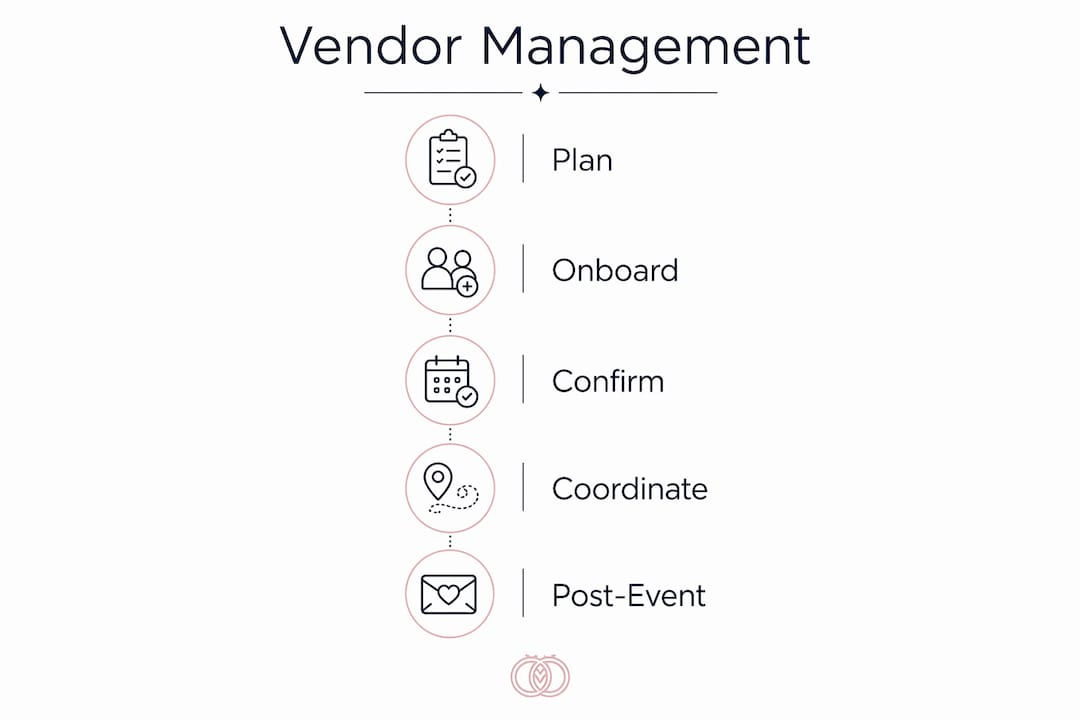
- Core workflows every planner needs: onboarding through post-event
- Which software features make vendor task management reliable?
- How to implement vendor task management in 60 days
- How Thespecialwedding operationalizes vendor task management
- Vendor etiquette: answers to the questions vendors always ask
- How to train your team and vendors on the management platform
- Key Takeaways
- Why the system matters more than the software
- Thespecialwedding puts these workflows in one place
- Useful sources and further reading
What does vendor task management actually include?
Vendor task management covers eight core components. Each one maps to a specific planner role and a specific failure mode if left untracked.

| Component | What you store or track | Who owns it |
|---|---|---|
| Contracts & work orders | Signed agreements, scope of services, cancellation terms | Lead planner |
| Master timeline / run sheet | Load-in windows, ceremony cues, reception flow | Lead planner |
| Task assignments | Who does what, by when, with confirmation required | Lead planner + assistant |
| Payment schedules | Deposit dates, balance due dates, payment method | Lead planner |
| Vendor onboarding & vetting | Onboarding packet, insurance cert, recent portfolio | Lead planner |
| Communication protocols | Preferred contact method, escalation path | Assistant / day-of coordinator |
| Vendor portal or shared workspace | Central hub for all of the above | Lead planner |
| File storage | Insurance docs, licenses, signed addenda | Lead planner |
Some components must be confirmed in writing before the event. Contracts, insurance certificates, and payment schedules fall into that category without exception. Others, like meal counts and load-in windows, can be confirmed operationally via a phone call or portal message, but they still need a written record. A caterer’s final headcount confirmed only by text is a liability.
“Centralized communication, a single point of contact, and distributing a final master timeline 30 days before the wedding are the core operational moves that prevent day-of chaos.” — Elegant Wedding
Vendor portals solve the storage problem cleanly: contracts, insurance certificates, payment schedules, and final deliverable expectations all live in one place, and you can pull any document in under 30 seconds on event day.
Why structured vendor coordination prevents costly failures
The most common vendor-related failures aren’t dramatic. They’re quiet and cumulative: a payment missed by three days, a load-in window that overlaps with the florist, a menu count that never got confirmed in writing. Each one is manageable alone. Together, they cascade.
Here’s a real scenario: the band arrives 20 minutes late because no one confirmed the load-in window after a venue layout change. Setup runs long. The photographer loses the first-look window. The couple’s timeline slips 40 minutes before the ceremony even starts. Every one of those failures traces back to a single missing confirmation in the master timeline.
The components that prevent each failure:
- Missed payments → payment schedule with automated reminders
- Overlapping load-ins → master timeline with 15-minute buffers between vendor arrivals
- Missing insurance certificates → onboarding checklist with a hard gate before booking confirmation
- Unconfirmed menu counts → written confirmation protocol with a 14-day deadline
- Day-of scope drift → signed work orders with explicit deliverables
- Communication fragmentation → single point of contact + vendor portal
Pro Tip: Budget your 15–20% contingency as a line item in your planning software from day one, not as an afterthought. Hidden vendor costs like service charges, delivery fees, and staff meals add up faster than most clients expect.
For events with multiple vendors, deploy a minimum two-person day-of team: a lead planner as the single point of contact for all vendor check-ins and a dedicated assistant handling logistics and troubleshooting. Split authority on event day is one of the fastest ways to create confusion.

Core workflows every planner needs: onboarding through post-event
Vendor onboarding workflow
- Send the onboarding packet: contact sheet, preferred communication method, contract checklist, insurance requirements, and payment schedule
- Request a full-event portfolio from the last six months (not a curated highlight reel)
- Confirm insurance certificate received and on file
- Log deposit paid, balance due date, and payment method
- Add vendor to the master timeline with their load-in window and point-of-contact name
Pro Tip: Ask for full galleries from the last six months rather than polished highlight reels. A full gallery shows current team structure, real-wedding pacing, and whether the vendor’s quality is consistent, not just curated.
Pre-event confirmation workflow (30 days out)
- Distribute the final master timeline to all vendors
- Confirm load-in windows, parking passes, and venue access instructions in writing
- Verify vendor meal and break policy with the caterer
- Collect written acknowledgments (ACKs) from every vendor
- Confirm final headcounts with catering and any count-dependent vendors
Day-of workflow
| Time | Task | Owner | Confirmation method |
|---|---|---|---|
| T-2 hours | Vendor check-in sheet active, point-of-contact list distributed | Lead planner | Printed + digital |
| Load-in start | Stagger vendor arrivals with 15-min buffers | Assistant | Run sheet |
| Each vendor arrival | Check in, confirm deliverables, note any issues | Assistant | Check-in sheet |
| 30 min before ceremony | Final timeline check with lead planner | Lead planner | Verbal + portal |
| Post-ceremony | Confirm reception vendor positions | Lead planner | Run sheet |
For day-of run sheet construction, build every vendor’s load-in window with a 15-minute buffer before the next arrival. That buffer absorbs a late truck, a parking issue, or a setup complication without touching the ceremony timeline.
Post-event workflow
- Release final payments per contract terms (most vendors require full payment 30 days before the event; confirm your specific contracts)
- Send a feedback request to each vendor within 48 hours
- Confirm receipt of all deliverables: final photo gallery, video files, final invoices
- Archive the complete vendor file (contracts, correspondence, payment records)
- Close out the event in your platform and note any vendor performance flags for future reference
Which software features make vendor task management reliable?
The right platform doesn’t just store documents. It actively reduces the failure modes covered above. Here’s what to look for and why each feature matters operationally.
Core feature checklist:
- Shared vendor portal: reduces fragmented DMs and emails; vendors access their own documents and timeline without calling you
- Automated reminders and confirmations: catches missed payments and unconfirmed logistics before they become day-of problems
- Master timeline with role-based views: lead planner sees everything; vendors see only their window and tasks
- Document storage (contracts, insurance certs): single retrieval point on event day, no scrambling through email threads
- Payment tracking and invoice logs: full audit trail of deposits, balances, and payment dates
- Vendor task assignment with ACK workflow: vendors confirm receipt of assignments in writing, creating an auditable trail
- Mobile check-in: speeds day-of vendor arrivals without paper sign-in sheets
- Audit log and activity history: resolves disputes about what was confirmed and when
- Calendar sync or API integration: keeps vendor timelines aligned with your broader event calendar
- Role-based permissions: limits sensitive client and vendor data to the staff who need it
Shared master timelines that require vendor acknowledgments create an auditable confirmation trail. When a vendor disputes what they were told, the ACK timestamp settles it.
| Feature | Operational benefit | Suggested configuration |
|---|---|---|
| Vendor portal | Eliminates document fragmentation | All tiers |
| Automated reminders | Prevents missed payments and unconfirmed logistics | Team and agency tiers |
| Role-based permissions | Limits PII exposure to authorized staff | Agency tier; recommended for all |
| Mobile check-in | Speeds day-of arrivals | Team and agency tiers |
| Audit log | Resolves confirmation disputes | Agency tier |
| API / calendar sync | Aligns vendor and event calendars | Agency tier |
On security and privacy: require encrypted file storage for any platform handling vendor contracts, insurance documents, or payment records. Role-based permissions aren’t a premium feature; they’re a baseline requirement. Limit access to personally identifiable information (names, banking details, insurance policy numbers) to the staff members who actively need it for their role.
Collaboration tool classes range from shared Google Drive folders to full SaaS vendor portals with templates and APIs. The right tier depends on your event volume and team size. A solo planner running four weddings a year has different needs than an agency coordinating 40.
How to implement vendor task management in 60 days
This phase-by-phase breakdown covers a single wedding from 60+ days out through post-event close. Adapt the owners to your team structure.
Phase 1: 60+ days out (foundation)
- Create the vendor master list with contact info, preferred communication method, and contract status
- Send onboarding packets to all confirmed vendors
- Log all deposit due dates and balance due dates in your payment tracker
- Request insurance certificates; set a hard deadline for receipt
- Add all vendors to the master timeline with placeholder load-in windows
Owner: Lead planner. Confirmation method: Signed onboarding acknowledgment from each vendor.
Phase 2: 30–14 days out (confirmations)
- Distribute the final master timeline to all vendors and collect written ACKs
- Confirm load-in windows, parking passes, and venue access with each vendor
- Verify vendor meal counts with the caterer
- Confirm final headcounts for any count-dependent vendors (catering, seating, transportation)
- Send payment reminders for any balances due in this window
Owner: Lead planner + assistant. Confirmation method: Portal ACK or signed email confirmation.
| Task | Due date | Owner | Confirmation |
|---|---|---|---|
| Final timeline distributed | 30 days out | Lead planner | Portal ACK |
| Load-in windows confirmed | 30 days out | Assistant | Written confirmation |
| Vendor meal counts confirmed | 14 days out | Lead planner | Email or portal |
| All balances due logged | 14 days out | Lead planner | Payment tracker |
| Parking/access instructions sent | 14 days out | Assistant | Email confirmation |
Phase 3: 14–3 days out (logistics lock)
- Send the day-of point-of-contact list to all vendors
- Confirm vendor arrival order and stagger load-ins with 15-minute buffers
- Prepare the vendor check-in sheet (name, company, arrival time, deliverable, signature)
- Brief the assistant on their vendor-specific responsibilities
- Confirm any outstanding deliverables (final proofs, rental confirmations, tech riders)
Owner: Lead planner. Confirmation method: Verbal briefing + written run sheet distributed to all staff.
Phase 4: Day-of
Deploy the day-of coordination checklist and run sheet. The lead planner is the single point of contact for all vendor check-ins and changes. The assistant manages the check-in sheet, load-in sequencing, and vendor meal logistics. For events with seven or more vendors, this two-person minimum is an operational standard, not a preference.
Phase 5: Post-event (within 72 hours)
- Release final payments per contract terms
- Send feedback requests to all vendors
- Confirm receipt of all deliverables
- Archive the complete vendor file
- Log any performance notes for future vendor decisions
How Thespecialwedding operationalizes vendor task management
Thespecialwedding maps directly to the workflows above. Here’s how the platform’s features align with each phase:
Platform capabilities by workflow phase:
- Onboarding: vendor portal for document collection, onboarding packet templates, insurance certificate storage, and deposit tracking
- Pre-event confirmations: automated reminder sequences, timeline sharing with vendor ACKs, and role-based task assignments
- Day-of: mobile check-in, run sheet distribution, and real-time task status updates
- Post-event: payment tracking close-out, deliverable checklist, and event archiving
A sample vendor onboarding flow in Thespecialwedding looks like this: you create a vendor record, attach the onboarding packet template, set the deposit due date, and assign the insurance certificate request as a task with a deadline. The vendor receives portal access, uploads their certificate, and acknowledges the timeline. Every step is logged with a timestamp. On event day, you open the mobile check-in view and mark each vendor as arrived.
For agencies running multiple concurrent events, reusable templates and role-based permissions let junior staff execute repeatable workflows without constant senior oversight. That’s where the productivity gain compounds: not just one well-run wedding, but a consistent standard across every event on your calendar.
Pro Tip: Track two metrics after your first three events on any platform: vendor acknowledgment rate (what percentage of vendors confirmed the timeline in writing) and day-of issue count. Those two numbers tell you whether your system is working before a problem becomes a pattern.
Planners who move from scattered tools to a single platform typically report fewer day-of interruptions and faster vendor follow-up response times. The specific gains depend on your starting point, but the mechanism is consistent: when vendors know exactly where to find their information and what’s expected of them, they need less hand-holding.
Vendor etiquette: answers to the questions vendors always ask
Clear, consistent answers to common vendor questions reduce back-and-forth and set professional expectations from the start. Here’s language you can adapt for your vendor packets and work orders.
“Do you provide vendor meals?” Industry standard is to provide a hot meal for every on-site vendor working more than four hours. Include this in your contract language: “The client will provide one hot vendor meal per on-site team member working the event. Meal service begins at [time] in [location].” Confirm the count with your caterer at the 14-day mark.
“When is final payment due?” Most vendors require full payment 30 days before the event. Confirm the specific terms in each contract and log them in your payment tracker on day one. Suggested contract language: “Final balance of $[amount] is due no later than [date], 30 days prior to the event date.”
“Who is the day-of point of contact?” Distribute a single point-of-contact sheet to all vendors no later than three days before the event. One name, one phone number, no exceptions. Suggested language for your vendor packet: “All day-of questions, changes, and emergencies should be directed to [Name] at [Phone]. Do not contact the client directly on the event day.”
“What are the load-in protocols?” Include load-in instructions in the master timeline and confirm them at the 14-day mark. Specify: arrival window, parking location, venue access point, elevator or freight door access if applicable, and any venue restrictions (no glitter, no open flames, etc.).
On privacy and data security: store only the vendor information you actively need: business name, primary contact name, phone, email, insurance certificate, and payment records. Limit access to that data to the staff members who use it. Encrypted file storage and role-based permissions in your platform handle the technical side; your internal policy handles the human side. Don’t store vendor banking details in shared documents.
How to train your team and vendors on the management platform
Getting the platform right matters. Getting your team and vendors to actually use it consistently matters more.
Onboarding your planning team
Start with a single event. Walk your assistant through the full workflow: creating a vendor record, attaching documents, setting reminders, and using the check-in view on event day. Don’t train on theory; train on a live event with real deadlines. After that first event, debrief on what felt clunky and adjust your templates before the next one.
For agencies, role-based permissions define what each team member can see and edit. Set those permissions before anyone logs in. A junior coordinator who can accidentally overwrite the master timeline is a risk you can prevent in five minutes of setup.
Onboarding vendors to the portal
Keep vendor-facing instructions short. A one-paragraph email explaining what the portal is, what they’ll find there, and what they need to upload is enough. Most vendors don’t need a tutorial; they need a clear link and a deadline. If a vendor is unfamiliar with portal tools, a two-minute phone call covers it.
Build the expectation into your onboarding packet from the start: “All documents, timeline updates, and confirmations will be managed through our planning portal. You’ll receive an invitation link within 48 hours of contract signing.” Vendors who know what to expect from the beginning adapt faster and ask fewer questions later.
Sustaining consistent use
The biggest training failure isn’t the initial onboarding. It’s the drift back to old habits after the first few events. Prevent it by making the platform the only place tasks and confirmations live. If a vendor sends a confirmation by text, log it in the platform immediately and reply with a portal link. Consistency from your side creates consistency on theirs.
Key Takeaways
Structured vendor task management, run from a single platform with reusable templates and automated confirmations, is the most direct way to reduce day-of surprises and vendor-related failures across every event you coordinate.
| Point | Details |
|---|---|
| Centralize from day one | Store all contracts, insurance certs, and payment schedules in one platform before any vendor goes active. |
| Automate confirmations | Set reminders at 30 days, 14 days, and 72 hours out to catch missed payments and unconfirmed logistics. |
| Stagger load-ins with buffers | Build 15-minute buffers between vendor arrivals to absorb delays without touching the ceremony timeline. |
| Budget the contingency | Reserve a 15–20% contingency for hidden vendor costs including service charges, delivery fees, and vendor meals. |
| Use Thespecialwedding | Thespecialwedding maps vendor portals, templates, payment tracking, and timeline ACKs to the full workflow above. |
Why the system matters more than the software
The conventional wisdom in wedding planning circles is that the right software will fix your vendor coordination problems. It won’t. Software amplifies whatever system you bring to it. A planner with a clear onboarding packet, a standardized timeline template, and a consistent confirmation protocol will get strong results from almost any platform. A planner without those things will just have a more organized mess.
What actually changes outcomes is the decision to treat vendor task management as a repeatable system rather than a per-event improvisation. The first time you run a structured onboarding workflow, it takes longer than winging it. The fifth time, it takes less time than any ad-hoc approach you’ve tried. The tenth time, your assistant can run it without you.
The metric that matters most isn’t how many features your platform has. It’s your vendor acknowledgment rate: what percentage of your vendors confirmed the final timeline in writing before event day. Get that number to 100% consistently, and most of the day-of surprises disappear before they start.
Thespecialwedding puts these workflows in one place
Every workflow in this guide, from vendor onboarding packets to day-of mobile check-in, maps directly to Thespecialwedding’s feature set. The platform gives you a shared vendor portal where contracts, insurance certificates, and payment schedules live in one place, plus automated reminder sequences, master timeline tools with vendor ACK tracking, and role-based permissions for your full team.
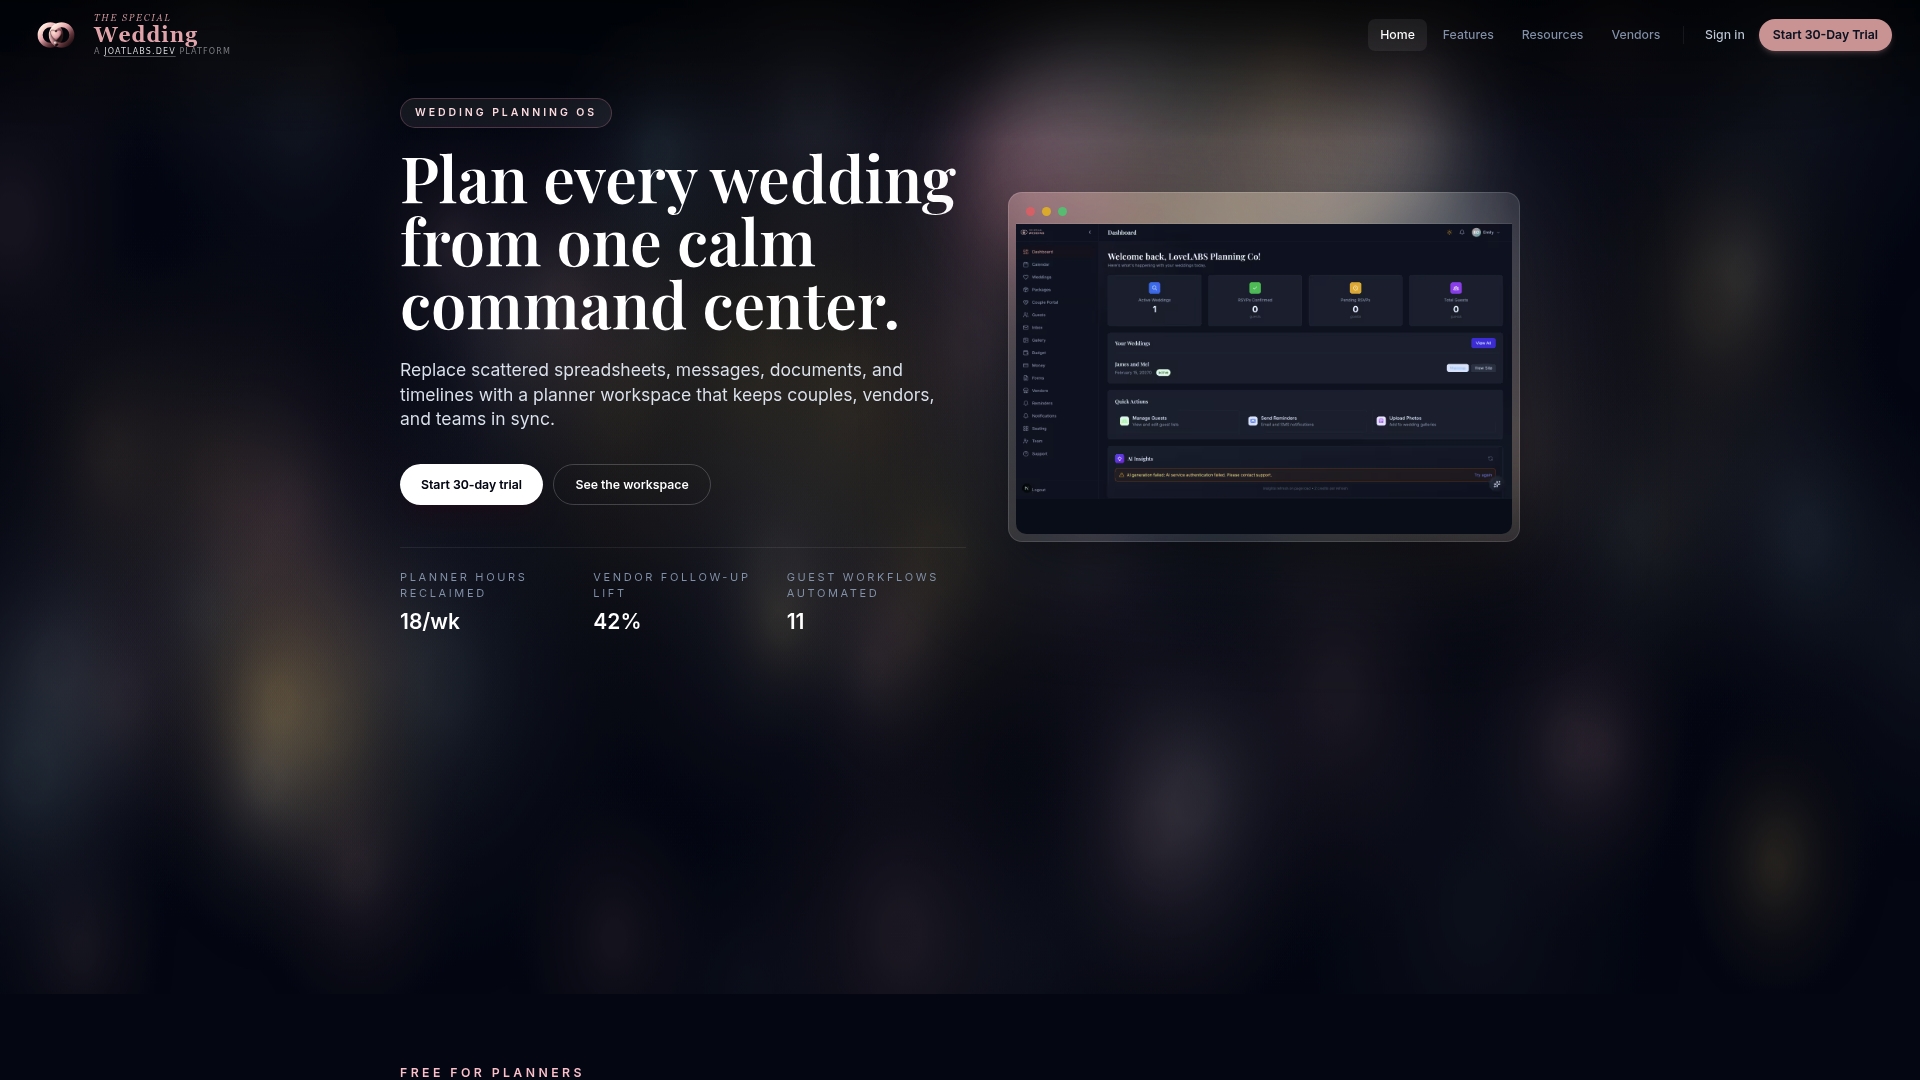
Whether you’re a solo planner coordinating your first 10 weddings or an agency managing 40 concurrent events, Thespecialwedding scales with your workflow. Reusable templates mean you build the system once and deploy it across every event. Payment tracking keeps every deposit and balance due date visible without a separate spreadsheet. And the vendor portal means your vendors always know where to find their information, which means fewer calls to you on event day.
Browse the vendor directory to see how vendor profiles, deliverable notes, and logistics details appear on the platform, then start a trial to configure your first onboarding template.
Useful sources and further reading
- Complete Wedding Vendor Management Guide — OurVows Blog: Practical operational guide covering onboarding packets, contingency budgeting, and vendor vetting checklists.
- How to Coordinate Multiple Wedding Vendors Without Losing Your Mind — Elegant Wedding: Covers single point-of-contact protocols, timeline distribution, and day-of staffing standards.
- Why Vendors Use Shared Wedding Timelines — Thespecialwedding Blog: Explains vendor ACK workflows and how shared timelines create an auditable confirmation trail.
- Vendor Portals in Wedding Planning: A 2026 Guide — Thespecialwedding Blog: Deep dive on portal security, document storage, and permissions setup.
- Build Your Wedding Day-of Coordination Timeline — Thespecialwedding Blog: Step-by-step run sheet construction with load-in sequencing guidance.
- Types of Wedding Vendor Collaboration Tools in 2026 — Thespecialwedding Blog: Overview of tool classes from shared drives to full SaaS portals, with tier recommendations.
- Multi-Wedding Coordination: A Professional’s 2026 Guide — Thespecialwedding Blog: Agency-scale coordination with templates, dashboards, and role-based permissions.
- Wedding Coordinator’s Role in Vendor Scheduling — Thespecialwedding Blog: How coordinators use standardized checklists and onboarding packets to reduce scope disputes.
Recommended
- What Is a Wedding Planning Task Board? Your Guide | The Special Wedding Blog
- Wedding Lead Management for Planners: 2026 Guide | The Special Wedding Blog
- Wedding Agency Staff Role Assignments: 2026 Guide | The Special Wedding Blog
- Wedding Agency Team Management: A 2026 Guide | The Special Wedding Blog
Free wedding planner templates
Skip the blank page — these templates ship with the form fields you actually need.
Browse all 9 free templates →