Solo Planner Wedding Day Coordination Checklist
Solo Planner Wedding Day Coordination Checklist

A solo planner wedding day coordination checklist is a cue-based operational roadmap that gives one person complete control over timing, vendor management, and emergency response without a support team. Unlike a standard timeline, this system separates what happens from who owns each moment, which is the difference between a day that flows and one that unravels. The industry term for the core document is a “run of show,” and every effective solo coordination system is built around it. This guide covers the exact tools, workflows, and communication structures you need: a cue-based run of show, vendor packets, buffer time strategy, an emergency kit, and a directional vendor communication checklist.
What goes on a solo planner wedding day coordination checklist
The foundation of solo coordination is a cue-based run of show that separates timeline entries from operational cues and assigns a named owner to each. A timeline tells you when the first dance happens. A run of show tells you who cues the DJ, who dims the lights, and who signals the photographer. That distinction is what makes solo management possible.

Your run of show should use four columns: Time, Cue, Owner, and Notes. “Owner” is the critical column most planners skip. Every cue needs a person attached to it, even if that person is you for most entries. Separating coordination roles into show caller, vendor point person, and guest point person gives you a mental framework for triaging interruptions in real time.
Keep the document to one or two pages in PDF format. A 12-page document is useless during a busy load-in when a vendor is asking you a question and you have 30 seconds to find the answer. Print two copies: one for your clipboard and one as a backup in your bag.
- Time: Use 15-minute increments during high-activity periods like getting ready and ceremony transitions
- Cue: Write the trigger action, not just the event name (“Officiant signals end of ceremony” not “Ceremony ends”)
- Owner: Name a specific person, not a role title
- Notes: Vendor phone numbers, room locations, and contingency instructions
Pro Tip: Create a “Do Not Ask the Couple” list and attach it to every vendor packet. List the specific contact for each category of question: catering questions go to the venue captain, floral questions go to you, photo timing questions go to the lead photographer. This single addition cuts couple interruptions by more than half on the day.
How to schedule buffer times that prevent cascading delays
Buffer time is not padding. It is the mechanism that absorbs real-world delays and prevents one late event from collapsing the entire schedule. Building 15 to 30 minutes of buffer between major timeline blocks is the single most effective technique for keeping a wedding day on track when you are managing it alone.
The work-backward method is the most reliable approach for calculating buffers. Start with your ceremony time and work backward through every preceding block, adding buffer at each transition. Here is a practical sequence for a 4:00 PM ceremony:
- Ceremony start: 4:00 PM
- Couple ready and in position: 3:45 PM (15-minute buffer before ceremony)
- First look and portraits complete: 3:30 PM
- Getting ready complete: 2:30 PM (allow 30-minute buffer before portraits)
- Hair and makeup start: 8:00 AM (allow 6 hours for a bridal party of four, with a 30-minute buffer built in)
- Vendor arrivals and setup: 6:30 AM to 10:00 AM depending on vendor type
Hair and makeup consistently run late, making the morning the highest-risk period for schedule compression. Build your largest buffer here, not at the reception.
Consult your photographer and caterer when building your timeline. Photographers know exactly how long portraits take at your specific venue, and caterers know their service timing down to the minute. Their input turns your buffer estimates from guesses into data.
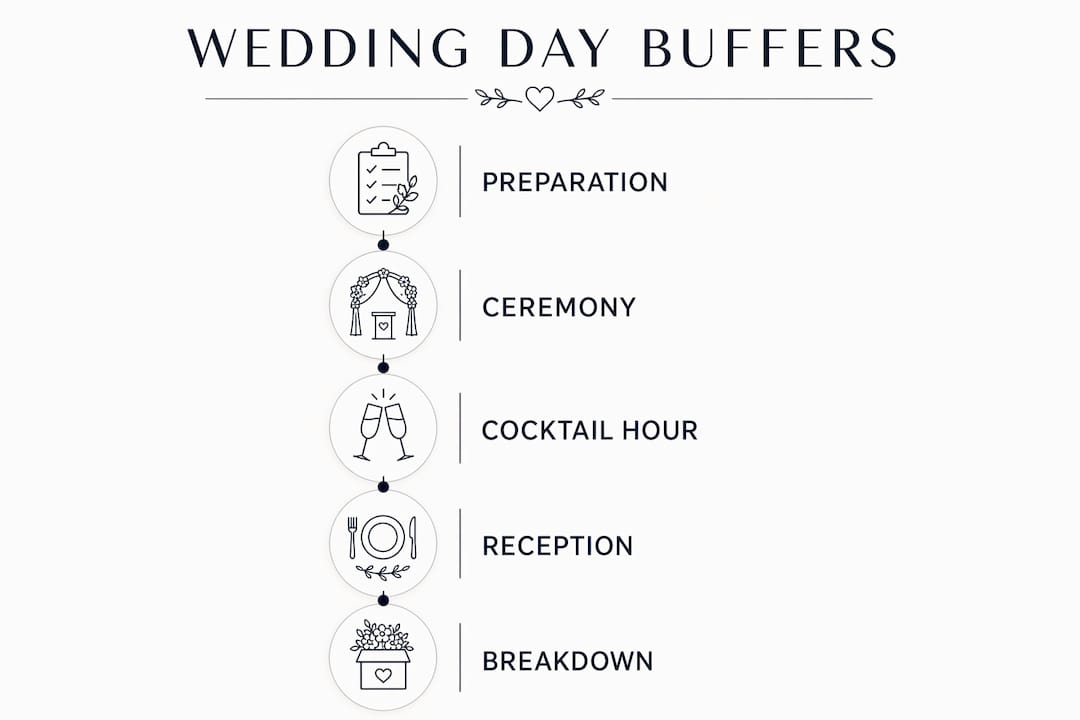
Typical wedding days run 6 to 8 hours across getting ready, ceremony, cocktail hour, and reception. That range tells you how much total time you are managing and where compression is most likely. For a stress-free photography timeline, coordinate portrait windows directly with your photographer during the planning phase, not on the day itself.
What a vendor packet should contain and when to send it
A vendor packet is the single document that replaces every “quick question” call you would otherwise receive on the wedding day. Distributing vendor packets 7 to 10 days before the event gives vendors time to review, ask clarifying questions, and arrive prepared. Resend only when something genuinely changes.
The packet and a generic contact list serve different functions. Understanding that difference is what separates a professional vendor packet from a spreadsheet dump.
| Document | Purpose | Contents |
|---|---|---|
| Vendor packet | Full operational briefing | Run of show, arrival times, parking, load-in instructions, on-site contacts |
| Directional contact list | Communication routing | Who to call for which issue, by time of day and event phase |
Every vendor packet should include:
- Full run of show PDF (1 to 2 pages)
- Venue address, parking instructions, and load-in entrance
- Vendor-specific arrival time and setup window
- On-site point of contact name and cell number
- “Do Not Ask the Couple” escalation list
A centralized shared folder with clearly labeled PDFs serves as your single source of truth. When a vendor claims they never received the updated timeline, you can confirm the version date in seconds. Version confusion is one of the most common causes of day-of miscommunication, and a shared digital hub eliminates it entirely.
Pro Tip: Label every PDF with the event date and version number in the file name, for example “Smith_Wedding_2026-06-14_RunOfShow_v2.pdf.” Vendors who print documents will always have the right version in hand.
How to assemble a wedding day emergency kit for solo planners
A wedding day emergency kit assembled for $30 to $75 covers the three categories of problems that actually occur: fashion failures, health issues, and the surprises nobody plans for. The cost is negligible relative to the problems it prevents.
Organize your kit into three labeled pouches or sections:
- Fashion rescue: Safety pins in multiple sizes, fashion tape, a hem repair kit, stain remover pen, clear nail polish, and a small sewing kit
- Health and comfort: Pain relievers, antacids, blister bandages, antihistamines, a mini deodorant, and breath mints
- Surprise essentials: Phone charger and portable battery, scissors, a lighter, extra bobby pins, double-sided tape, and a small flashlight
Assign kit responsibility to one person with a fixed home base location, ideally near the bridal suite or your coordination station. When you are managing a vendor question on one side of the venue and a wardrobe issue emerges on the other, a rehearsed handoff to a trusted MOH or venue staff member keeps response time fast. Rehearsing kit access once during the rehearsal dinner walkthrough is enough to make it automatic on the day.
Pro Tip: Add a printed one-page “kit index” inside the bag listing every item and its pouch location. When someone else is retrieving an item under pressure, they will find it in 10 seconds instead of 90.
How to manage your wedding vendor communication workflow on the day
The wedding coordinator briefing process, meaning the structured system for routing vendor questions before and during the event, is what separates a calm solo planner from a reactive one. Directional vendor contact checklists that specify who contacts whom and when are more effective than a generic phone list because they eliminate ambiguity at the moment of highest stress.
Structure your vendor communication checklist by event phase rather than by vendor category. During load-in, the venue captain is the primary contact for logistics. During the ceremony, you are the only contact point. During cocktail hour, the catering manager handles food and beverage questions independently. This phase-based routing prevents vendors from calling you simultaneously about unrelated issues.
To track wedding vendor deliverable deadlines and manage your vendor availability calendar before the day, use a simple tracking table updated weekly in the final month:
| Vendor | Deliverable | Due date | Status |
|---|---|---|---|
| Florist | Final arrangement confirmation | 10 days out | Confirmed |
| Caterer | Final headcount and menu | 14 days out | Pending |
| DJ | Final song list and do-not-play list | 7 days out | Confirmed |
| Photographer | Shot list and timeline review | 7 days out | In progress |
Defining “couple unavailable” windows and communicating them to all vendors in advance is one of the most underused techniques in solo coordination. Block the 30 minutes before the ceremony and the first 20 minutes of cocktail hour as protected time. Vendors who know this in advance will not attempt contact during those windows. For deeper guidance on sharing timelines with vendors, Thespecialwedding has a dedicated resource that covers version control and distribution timing in detail.
Key takeaways
A solo planner runs a flawless wedding day by combining a cue-based run of show, strategic buffer times, pre-distributed vendor packets, a stocked emergency kit, and directional communication routing into one integrated system.
| Point | Details |
|---|---|
| Cue-based run of show | Use Time, Cue, Owner, and Notes columns to assign every moment to a named person. |
| Buffer time strategy | Add 15 to 30 minutes between major blocks, with the largest buffer during hair and makeup. |
| Vendor packet distribution | Send complete packets 7 to 10 days out and use a shared folder as your single source of truth. |
| Emergency kit management | Assign one handler, set a fixed location, and rehearse access before the day. |
| Directional communication | Route vendor questions by event phase to protect the couple and keep yourself focused. |
What solo coordination taught me about simplicity under pressure
The most common mistake I see solo planners make is building a checklist that is too detailed to use under pressure. A 40-row spreadsheet looks thorough in the office. On the day, when a vendor is asking you a question and the ceremony is 12 minutes away, you need a document you can scan in three seconds. Brevity is not laziness. It is a professional decision.
Buffer times are where experience separates from theory. Every planner knows to add buffer. What most planners underestimate is where to put it. The morning getting-ready block is where weddings actually fall behind. I have never seen a reception run 45 minutes late because the send-off took too long. I have seen it happen because hair and makeup ran over and every subsequent block compressed. Put your buffers where the risk actually lives.
The other lesson that took time to internalize: your visible calm is a coordination tool. Vendors read your energy. If you look stressed, they escalate minor questions into urgent ones. If you look in control, they handle small problems themselves. Your organization as a solo planner is not just operational. It is the signal that tells everyone around you the day is under control.
— JOATLABS
Run your next wedding day with Thespecialwedding
Solo coordination becomes significantly more manageable when your documents, vendor contacts, and timelines live in one place instead of scattered across email threads and desktop folders. Thespecialwedding is built for exactly this workflow.
The vendor directory connects you with trusted local providers who understand professional coordination standards, cutting the time you spend vetting new contacts. The platform’s document management and workflow tools replace the manual tracking tables in this article with automated reminders and real-time status views. If you are ready to stop rebuilding your coordination system from scratch for every event, explore what Thespecialwedding offers at thespecialwedding.io.
FAQ
What is a cue-based run of show for solo planners?
A cue-based run of show is a 1 to 2 page PDF with columns for Time, Cue, Owner, and Notes that assigns every wedding day transition to a named person. It replaces a standard timeline by specifying who triggers each moment, not just when it occurs.
How far in advance should vendor packets be sent?
Vendor packets should be distributed 7 to 10 days before the wedding, with resends only when genuine changes occur. This window gives vendors time to review details and ask questions before the day.
How much buffer time should a solo planner build into a wedding timeline?
Add 15 to 30 minutes of buffer between each major timeline block, with the largest buffer placed during the getting-ready phase. Hair and makeup delays are the most common cause of cascading schedule compression.
What belongs in a wedding day emergency kit?
A kit assembled for $30 to $75 should cover three categories: fashion rescue items like safety pins and stain remover, health items like pain relievers and blister bandages, and surprise essentials like a portable phone charger and scissors.
How do you protect the couple from vendor interruptions on the day?
Create a directional contact list that routes each category of vendor question to a specific person by event phase, and define protected “couple unavailable” windows before the ceremony and during cocktail hour. Communicating these rules in the vendor packet prevents most interruptions before they happen.
Recommended
- Solo Wedding Planner Organization Tips That Work | The Special Wedding Blog
- Wedding planning time management: a pro guide for planners | The Special Wedding Blog
- Wedding coordinator’s role in vendor scheduling | The Special Wedding Blog
- Wedding planner workspace explained: boost multi-event ops | The Special Wedding Blog
Free wedding planner templates
Skip the blank page — these templates ship with the form fields you actually need.
Browse all 9 free templates →